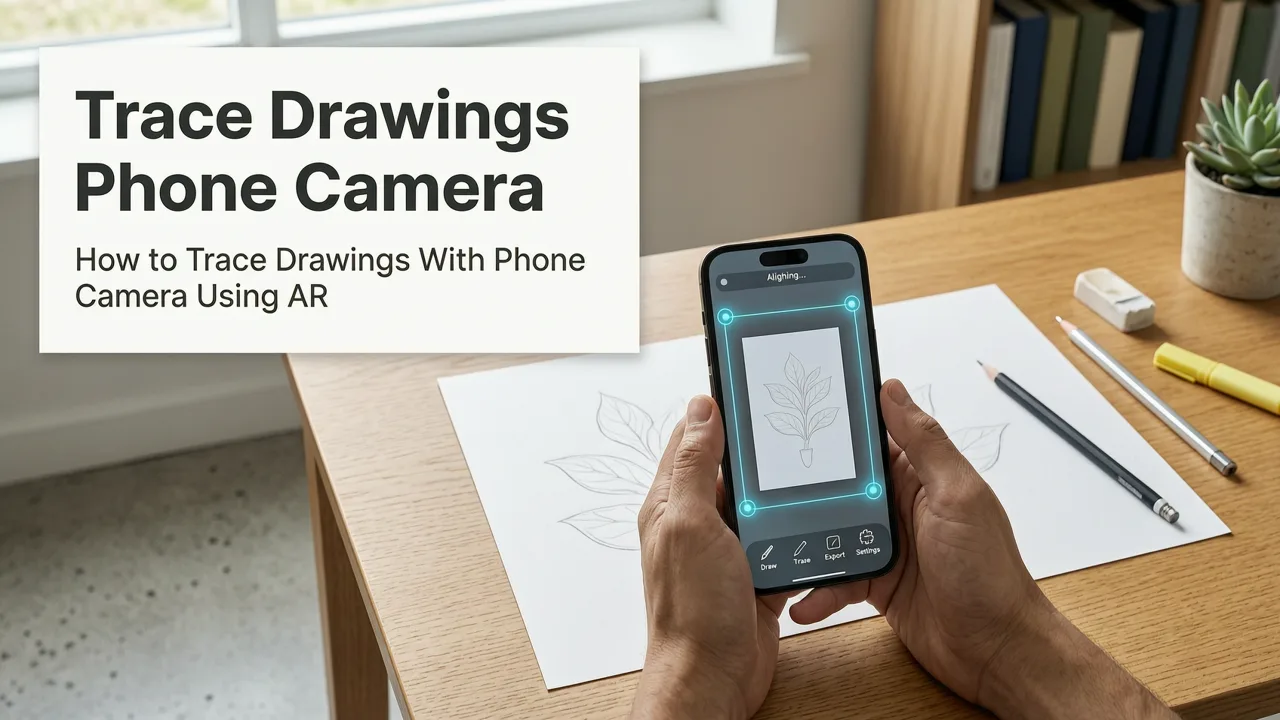
If you are searching for the best ar drawing app for iphone, you want to turn your phone into a reliable tracing tool without buying expensive tablets or projectors. In 2026, the top choice for iOS users is AR Drawing, an app that uses your camera to project a stable, adjustable overlay directly onto your paper, making it incredibly easy for beginners to sketch with perfect proportions.
Finding the right tool can feel overwhelming when the App Store is packed with digital painting programs and complex design software. But if your goal is to practice traditional sketching on physical paper while using your phone as a guide, you need a dedicated augmented reality solution. Here is everything you need to know about choosing the right app and how to use it to accelerate your art journey.
What Makes the Best AR Drawing App for iPhone?
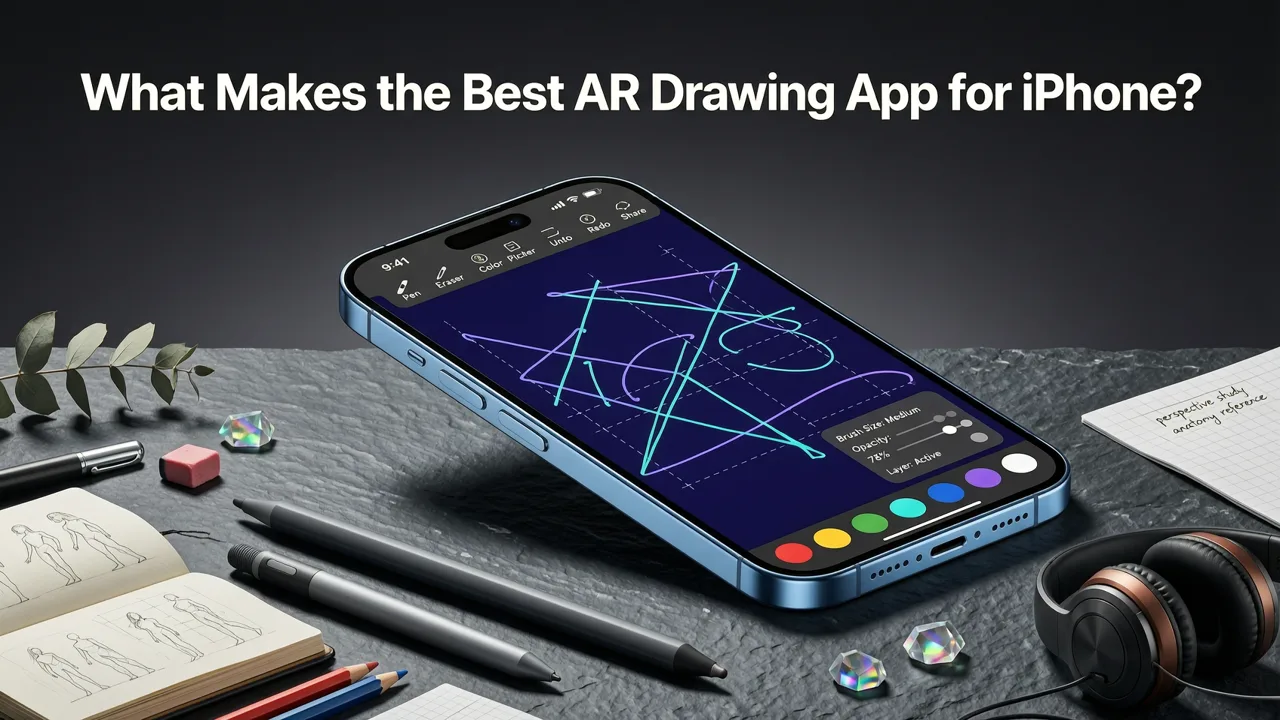
Not all tracing apps are created equal. When evaluating an iOS sketching tool, you need to look beyond basic image filters and focus on features that actually help your hand translate shapes onto paper. The best tools share a few core characteristics that make the learning curve feel like a breeze.
Drawing with Augmented Reality: AMAZING or AWFUL?? - SketchAR Review *Brutally Honest*
by Jazza
Stable Augmented Reality Overlay
The most frustrating thing about early AR apps was the jitter. If the image shakes every time you breathe, tracing becomes impossible. In 2026, top-tier apps utilize advanced spatial tracking to lock the overlay onto your desk. This means you can adjust your seating position or move your head slightly without losing the alignment of your sketch.
Intuitive Image Alignment
A great app allows you to resize, rotate, and shift the image with simple pinch and drag gestures. You should be able to match the digital outline to the exact edges of your physical paper in seconds. This phone camera drawing guide functionality ensures that your final sketch is perfectly scaled, whether you are working on a small sketchbook page or a large canvas.
No Extra Hardware Required
You should not have to buy a special stylus, a smart pen, or a Bluetooth projector. The best solutions rely entirely on the hardware already in your pocket. Your iPhone’s camera and processor do all the heavy lifting, keeping your setup minimal and your costs low.
Why AR Drawing Stands Out for iOS Artists
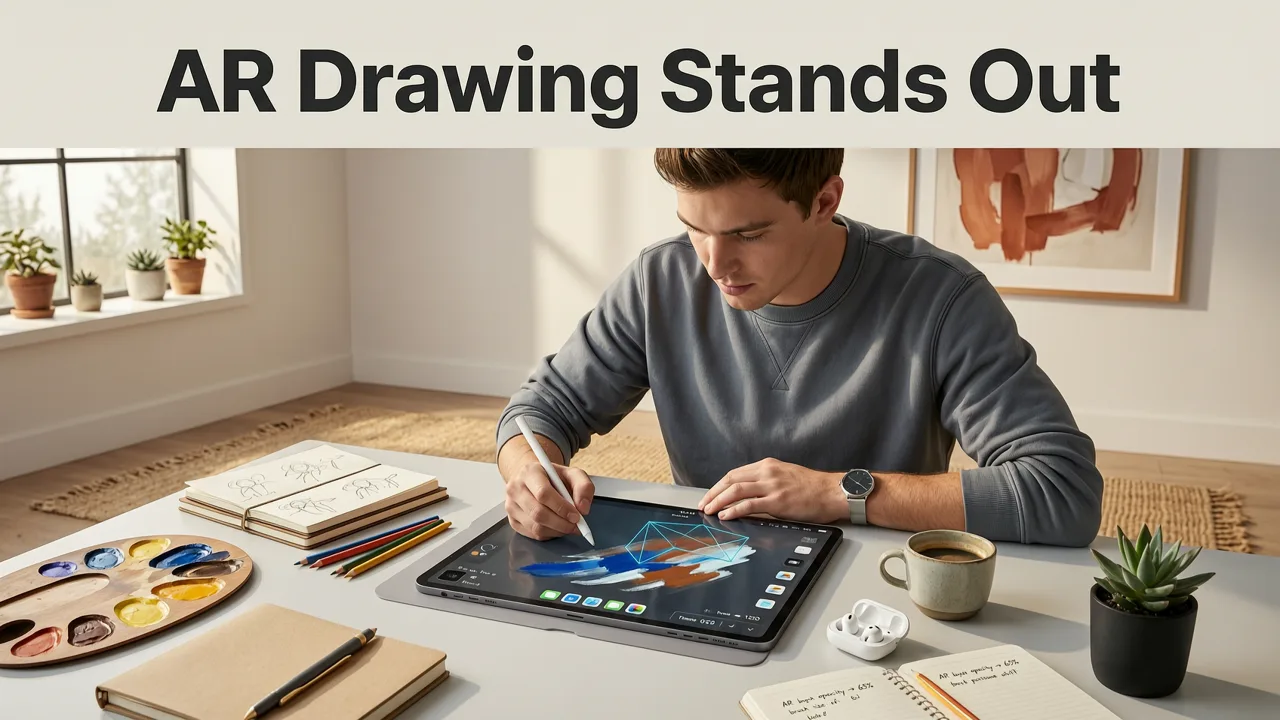
AR Drawing has become the go-to AR overlay for artists because it strips away the complexity of digital art software and focuses purely on the physical act of drawing. You upload or select an image, align it as an on-screen overlay, and trace it accurately using the phone as a visual guide.
This approach is incredibly friendly to hobbyists. It bridges the gap between wanting to draw realistically and actually having the muscle memory to do so. By providing a real-time visual boundary, the app helps you understand negative space, correct proportions, and precise contour lines without the guesswork.
Furthermore, because it works directly over physical paper, you get the tactile satisfaction of using real pencils, charcoal, or pens. You are not just staring at a screen; you are building a physical portfolio of artwork while using your phone as a silent, supportive coach.
How to Set Up Your Workspace for AR Tracing
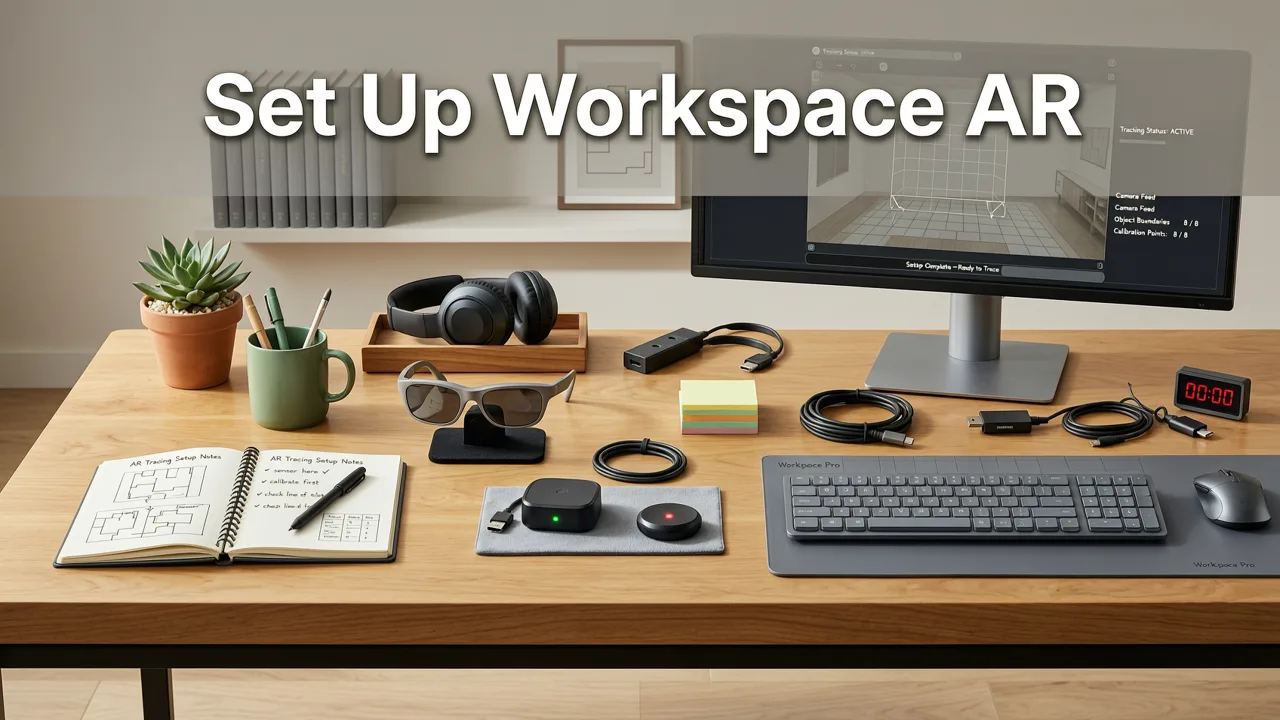
Getting the most out of your digital tracing on paper setup takes just a minute. Follow these simple steps to ensure your overlays are crisp and your tracing is smooth.
Step 1: Choose and Upload the Right Image
Select a high-contrast reference photo. Images with clear outlines and distinct shadows work best for beginners. You can choose from built-in libraries or upload your own photos directly from your camera roll.
Step 2: Optimize Your Lighting
Even the best AR overlay is hard to see if your room is pitch black or if there is a harsh glare on your paper. Turn on a soft desk lamp and position it so it illuminates your paper without casting a shadow from your phone or your drawing hand.
Step 3: Align the Overlay Precisely
Open the app and point your camera at your blank paper. Use your fingers to scale the image until it fits your desired drawing area. Tap to lock the perspective if the app offers it, ensuring the image stays perfectly flat against the page even if you shift your angle.
Best Subjects to Practice with AR Tracing
Once your workspace is ready, it is time to pick a subject. Starting with the right subjects builds confidence and teaches you fundamental skills. Here are some of the best categories to explore with your AR drawing app.
Animals and Wildlife
Animals are fantastic for learning symmetry and fur texture. If you want to start with approachable subjects, check out our guide on Easy Cute Animals to Sketch. Once you feel comfortable with basic shapes, you can challenge yourself with more detailed projects like learning How to Draw a Dog Step by Step with Your Phone. The AR overlay makes capturing the exact shape of a snout or the curve of an ear incredibly straightforward.
Botanicals and Flowers
Flowers teach you about organic curves, overlapping petals, and light shading. They are highly rewarding because the results look stunning even with basic pencil techniques. You can start with simple outlines by following our Flower Drawing for Beginners tips. For a slightly more advanced but deeply satisfying project, try the How to Draw a Rose Step by Step Using AR Tracing method. The app’s overlay will help you map out the complex spiral center of the rose without losing the overall shape.
AR Drawing App vs. Traditional Art Tools
If you are still wondering whether an AR app is the right investment for your hobby, it helps to compare it against the traditional alternatives. Here is how the best AR drawing app for iPhone stacks up against older methods.
| Feature | AR Drawing App | Traditional Art Projector | Graphic Drawing Tablet |
|---|---|---|---|
| Setup Time | Under 60 seconds | 10 to 15 minutes | Instant (but requires software learning) |
| Initial Cost | App download (uses existing iPhone) | $50 to $200+ for hardware | $200 to $1,000+ for tablet and PC |
| Portability | Highly portable, fits in your pocket | Bulky, requires a power outlet | Requires a computer or expensive standalone device |
| Medium Used | Real paper, pencil, charcoal, ink | Real paper, pencil, charcoal, ink | Digital screens and styluses |
| Learning Curve | Very low, intuitive gestures | Moderate, requires dark room and focus | High, requires learning digital software |
As the table shows, an AR app offers the tactile benefits of traditional drawing with the convenience and low cost of digital technology. You get the best of both worlds without cluttering your desk with extra equipment.
How AR Tracing Builds Long-Term Drawing Skills
A common misconception is that tracing is a shortcut that prevents you from learning real skills. In reality, using an AR overlay is a powerful training tool that accelerates your progress in several ways.
- Improves Hand-Eye Coordination: By constantly matching your pencil tip to the digital line, you train your brain to translate what you see into precise physical movements.
- Teaches Proportions: Seeing the correct proportions mapped out helps your brain internalize where facial features or animal limbs should sit relative to each other.
- Builds Confidence: Completing a highly accurate sketch early in your journey proves to your brain that you can create beautiful art, which keeps you motivated to practice.
- Develops Muscle Memory: Repeatedly tracing smooth curves and sharp angles builds the fine motor skills required to eventually draw freehand.
Over time, you will find that you need the overlay less and less. The app acts as training wheels; you use them until your balance is perfect, and then you ride on your own.
Pro Tips for Flawless AR Overlays
To ensure your experience with the best AR drawing app for iPhone is as smooth as possible, keep these expert tips in mind:
- Use a Phone Stand: While the app is designed for handheld use, resting your iPhone on a small desk stand or propping it against a mug can eliminate micro-movements from your hands, giving you a perfectly static overlay.
- Choose the Right Pencil: A standard HB or 2B pencil is ideal. Avoid overly dark or smudgy pencils like 6B for the initial tracing phase, as they can obscure the digital overlay on your screen.
- Keep the Lens Clean: It sounds simple, but a smudge on your iPhone camera lens can cause the AR tracking to drift. Wipe your lens with a microfiber cloth before you start.
- Work in Batches: If you are tracing a highly detailed image, take breaks. Shifting your focus back and forth between the screen and the paper can cause eye strain. Look away every 20 minutes to rest your eyes.
Start Your Art Journey Today
Finding the best AR drawing app for iPhone comes down to choosing a tool that respects the traditional art process while leveraging modern technology. AR Drawing provides the stability, ease of use, and intuitive design that beginners and hobbyists need to create beautiful artwork on physical paper.
You do not need years of art school training or a closet full of expensive gear to start creating pieces you are proud of. Grab your favorite pencil, download AR Drawing, and let the augmented reality overlay guide your hand. Check out our step-by-step guides to pick your first subject, and watch your confidence grow with every line you draw.