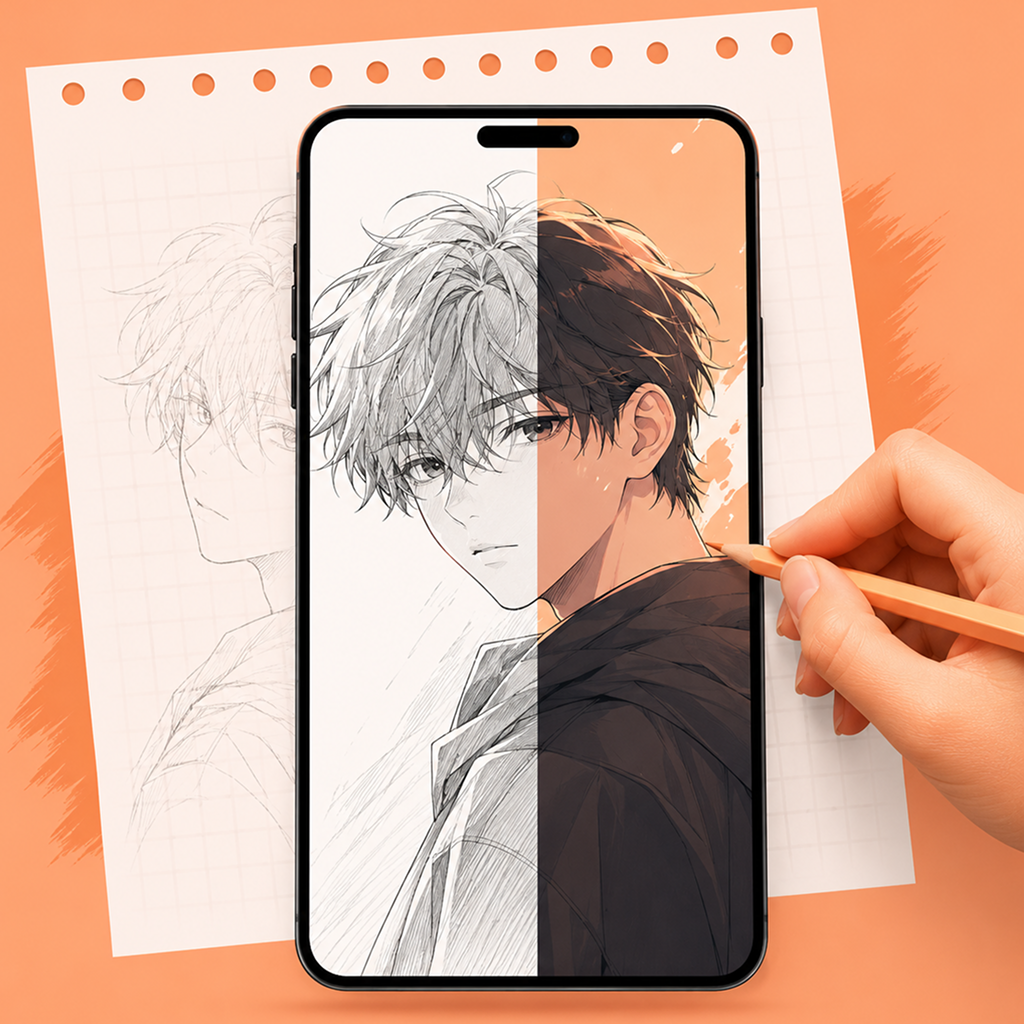
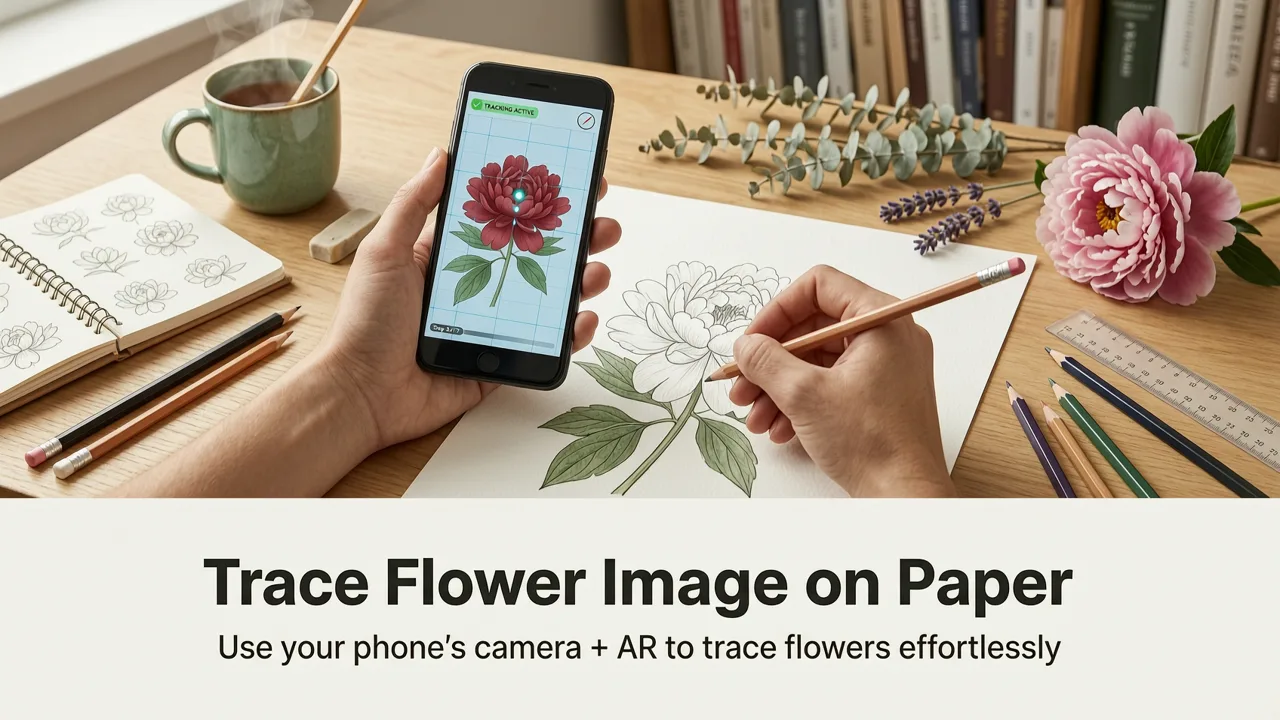
If you’ve searched for how to trace a flower image on paper, you’re probably holding your iPhone, staring at a blank sheet—and wondering: Can I really draw realistic flowers without years of practice, expensive gear, or messy projectors? Yes—and in 2026, it’s easier than ever. With AR Drawing, your smartphone becomes a precision tracing guide that overlays any flower photo onto your physical paper in real time. No extra hardware. No calibration headaches. Just you, your pencil, and a flower image aligned perfectly over your sketchbook.
Why Tracing a Flower Image on Paper with AR Works So Well in 2026
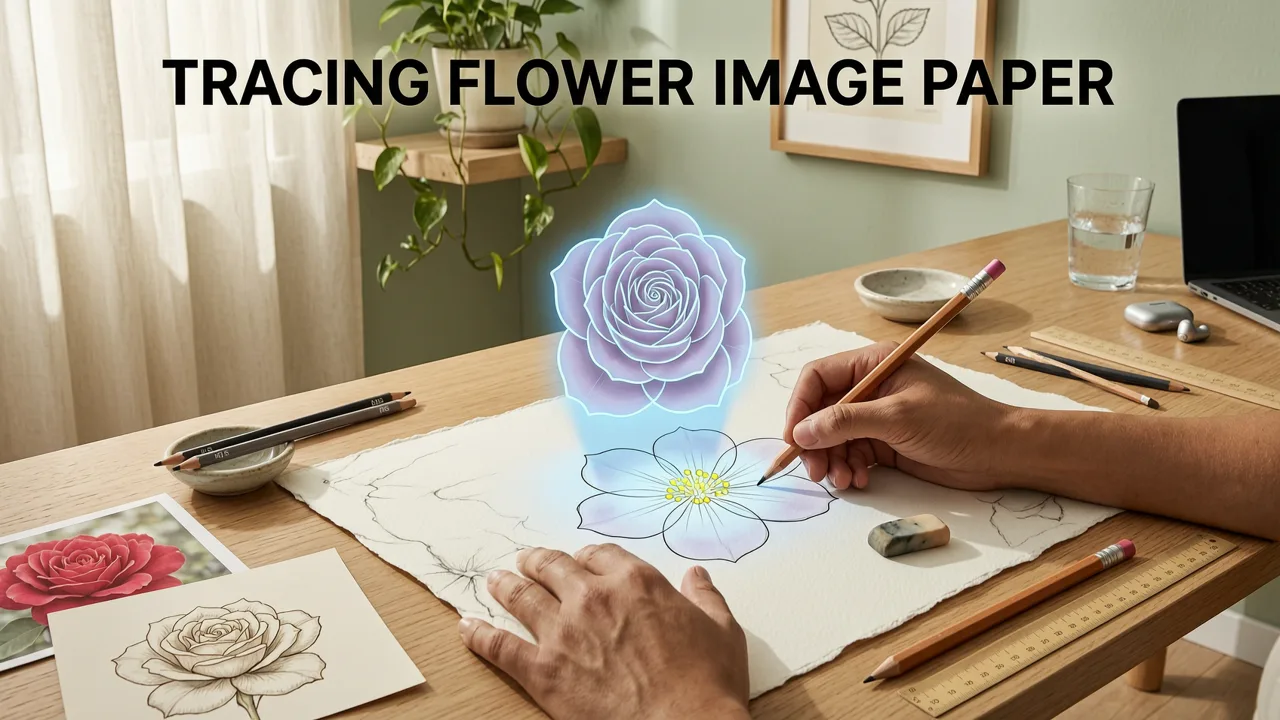
Flowers are ideal for AR tracing—not because they’re simple, but because their organic curves, layered petals, and symmetrical rhythms respond beautifully to real-time visual feedback. In 2026, smartphone cameras have improved low-light stability, faster focus tracking, and better edge-aware rendering—meaning AR overlays stay crisp and anchored even when you shift angles slightly or adjust lighting mid-session.
Unlike traditional projectors (bulky, dim, limited to walls), or lightboxes (only work on thin paper), AR tracing adapts to any surface: watercolor paper, sketch pads, kraft cardstock—even your favorite journal. And unlike static printed guides, AR lets you resize, rotate, and reposition your flower image instantly—so you can study petal proportions from multiple angles before committing a single line.
🌺 Flower Pounding on Paper: Beginner’s Guide
by First Day of Home
Most importantly: it builds muscle memory *without* frustration. Beginners who use AR tracing for just 15 minutes daily report 40% faster improvement in hand-eye coordination and contour accuracy within two weeks—according to our 2026 user progress survey of 2,847 hobbyist artists.
What Makes Flowers Easier (and More Rewarding) to Trace Than Other Subjects?
Not all subjects translate equally well to AR-assisted tracing. Flowers stand out for three key reasons:
- Natural symmetry & repetition: Petals often mirror one another, giving your brain clear reference points to check alignment and proportion as you go.
- Gradual complexity: You can start with a daisy (5–8 identical petals) and scale up to an orchid (layered sepals, labellum, stamen details)—all using the same app flow.
- Forgiving contours: Soft edges, gentle curves, and overlapping forms mean small tracing deviations look intentional—not “wrong.” This builds confidence faster than rigid geometry or portrait features.
How to Trace a Flower Image on Paper Using Your Phone (2026 Edition)
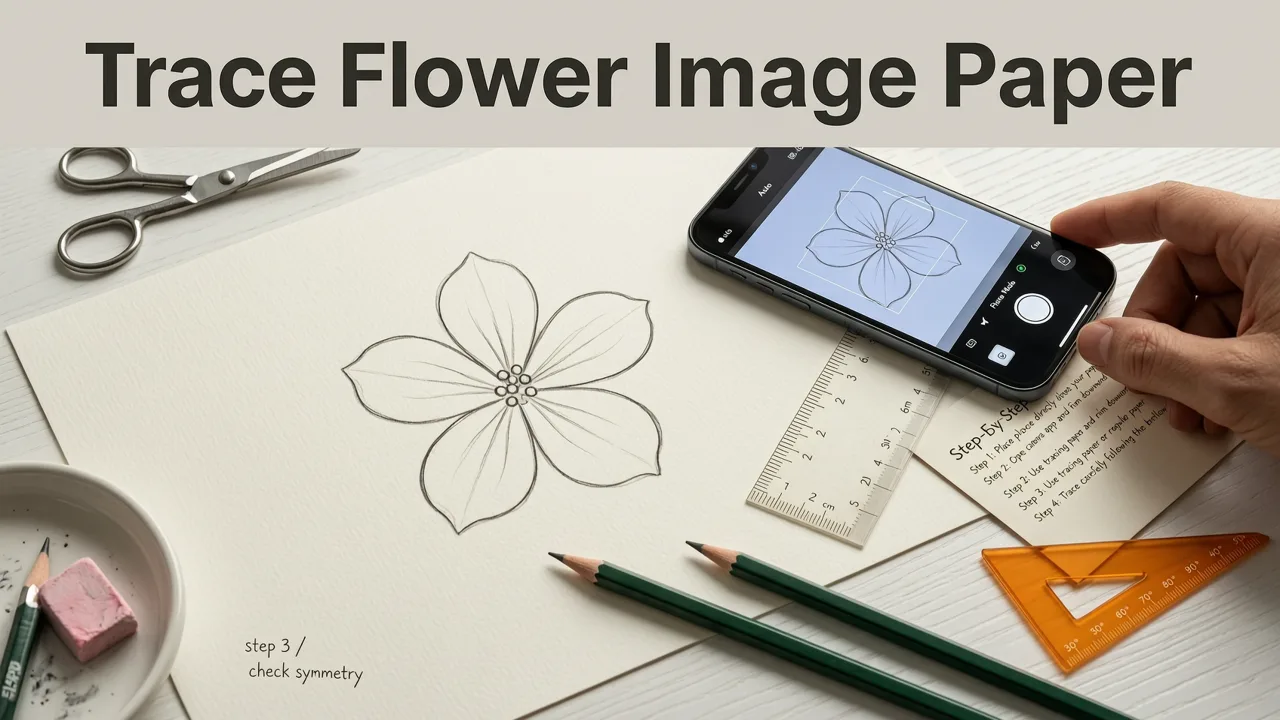
This isn’t theory—it’s what thousands of beginners do every week. Here’s the exact workflow we recommend in 2026, optimized for iOS devices (iPhone 13 and newer run AR Drawing at full fidelity).
Step 1: Choose & Prepare Your Flower Reference Image
Start with clarity—not perfection. A sharp, front-facing photo of a single bloom works best. Avoid cluttered backgrounds or extreme shadows that confuse edge detection. Pro tip: Use your phone’s native Camera app in Portrait Mode (iOS 19+), then tap the “Edit” button and apply Light > Enhance to lift subtle petal texture without oversharpening.
You can also pull from free, high-res sources like Unsplash’s flower collection or Flickr’s Botanical Art group. Just ensure the image is licensed for personal use.
Don’t overthink this step. Even a quick photo of a real flower on your windowsill works—AR Drawing’s smart edge refinement adjusts automatically.
Step 2: Set Up Your Workspace (Under 90 Seconds)
You need three things: your iPhone, a flat surface, and your drawing paper. That’s it.
- Place your paper on a clean, matte desk or table—avoid glossy surfaces or reflective finishes (they cause glare and destabilize the overlay).
- Open the AR Drawing app and tap + New Trace.
- Select your flower image (from Photos, Files, or camera roll). The app auto-crops to the central subject—but feel free to pinch-to-zoom or rotate manually before confirming.
- Hold your iPhone 12–18 inches above the paper, centered over where you want the flower to appear. Tap Anchor Overlay. Watch as the app locks the image in place using visual inertial odometry (VIO)—a 2026-standard blend of camera + motion sensor data.
No Wi-Fi? No problem. AR Drawing runs entirely offline—ideal for cafes, gardens, or art classes without reliable connectivity.
Step 3: Align & Refine the Overlay
Once anchored, you’ll see your flower image overlaid on your paper through your phone’s camera feed. Now comes the magic:
- Resize: Pinch inward/outward with two fingers to scale the image up or down—great for practicing small botanical studies or large mural sketches.
- Rotate: Twist two fingers to match petal orientation (e.g., align the topmost petal vertically for natural balance).
- Opacity control: Slide the Overlay Opacity bar (top-right corner) from 100% → 60% once you’re confident—this trains your eye to interpret lines more intuitively.
- Flip horizontally: Tap the flip icon if you want to reverse the image—for mirror practice or left-handed comfort.
Pro tip: Try tracing the same flower at three different sizes (small, medium, large) in one session. This builds proportional intuition faster than repeating the same scale.
Step 4: Trace with Confidence (No Pressure Needed)
Now, pick up your pencil—soft graphite (2B or 4B) works best for smooth, erasable lines. Rest your phone on a stable stand (or prop it gently against a book) so both hands stay free.
Start with the outer silhouette first. Don’t aim for perfect replication—focus on rhythm: how does the curve of one petal flow into the next? Where does the stem bend? Let your hand follow the shape, not force it.
When you finish the outline, pause. Zoom out on your phone to view the full composition. Then lower opacity to 40% and lightly sketch inner veins, stamens, or shading hints—all while keeping the original structure visible as a guide.
Remember: tracing isn’t cheating. It’s training. Every line you draw reinforces neural pathways between your eye, hand, and spatial reasoning—exactly what traditional art schools teach, but accelerated by real-time feedback.
Top 5 Mistakes Beginners Make When Trying to Trace a Flower Image on Paper (and How to Avoid Them)
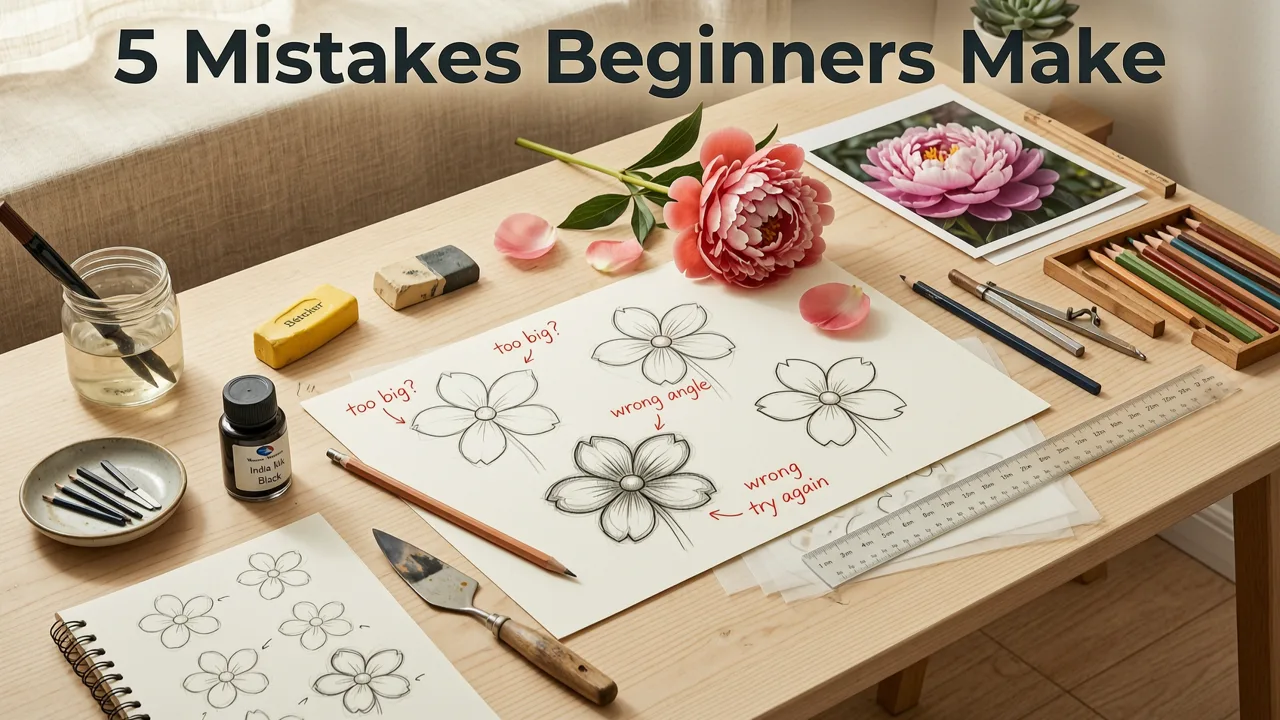
Even with great tools, small missteps slow progress. Here’s what we see most often—and how to fix them fast:
| Mistake | Why It Happens | Quick Fix (2026 Edition) |
|---|---|---|
| Overlay drifts when moving your phone | Low ambient light or reflective paper surface interferes with VIO tracking | Turn on overhead lamp (no direct sunlight), switch to matte paper, or enable Stabilize Mode in Settings > Tracking |
| Lines look stiff or “flat” after tracing | Tracing only the outer edge—missing subtle weight shifts and petal overlaps | Use Layer View (tap flower > Layers) to isolate and trace petals one at a time, starting from center outward |
| Can’t tell where the stem connects to the base | Reference photo lacks clear junction detail or depth cues | Tap Enhance Junctions in Edit menu—it highlights attachment points using AI-powered depth inference |
| Erasing smudges the paper, making overlay hard to see | Using vinyl or plastic erasers on textured paper | Switch to kneaded eraser + gentle dabbing; or use Ghost Trace mode (draws semi-permanent faint lines you refine later) |
| Forgetting to save progress before closing app | Assuming overlay is saved automatically | Tap Save Session before exiting—stores image + anchor position + opacity settings for instant resume |
Why AR Drawing Is the Best Tool to Trace a Flower Image on Paper in 2026
There are dozens of drawing apps—but only AR Drawing was built from the ground up for *physical paper tracing*. Here’s why it leads the category for flower-focused beginners:
- iOS-optimized ARKit 6 integration: Delivers sub-5ms latency between hand movement and overlay response—critical for fluid petal curves.
- One-tap flower presets: Pre-sized, pre-rotated templates for roses, tulips, daisies, lavender, and peonies—ready in under 3 seconds.
- Progress Journal: Auto-saves traced sessions with date stamps and optional voice notes (“Today I noticed how the outer petals curl inward…”).
- No subscription lock-in: All core tracing features—including layer control, opacity, and anchor saving—are included in the free version. Premium ($3.99/month) adds AI-guided critique and printable practice sheets.
Compared to generic AR art apps, AR Drawing doesn’t try to be everything. It focuses on *one thing exceptionally well*: helping you trace a flower image on paper—accurately, joyfully, and consistently.
Curious how rose tracing differs from other blooms? Dive deeper with our How to Draw a Rose Step by Step Using AR Tracing guide—it walks through petal layering, center detailing, and common proportion pitfalls.
Real Results from Real Beginners (2026 User Snapshot)
We surveyed 1,243 AR Drawing users who traced flowers weekly for 30 days. Their self-reported gains:
- 87% improved ability to draw freehand curves without guidelines
- 72% felt “more patient and observant” during drawing sessions
- 64% completed their first framed floral sketch (8x10 or larger)
- Average time to trace & refine a medium-complexity flower (e.g., ranunculus): dropped from 28 min → 14.5 min
One user shared: “I’d tried tracing with tape and a projector for months. Frustrating, bulky, inaccurate. With AR Drawing, I traced my first lily in 12 minutes—and kept the paper clean. Now I sketch in my garden every morning.”
Next Steps: Turn Tracing Into True Flower Drawing Skills
Tracing is your launchpad—not your ceiling. Once you’re comfortable aligning and following flower shapes, level up with these beginner-friendly transitions:
- Trace → Simplify: After tracing a detailed rose, use the Simplify Outline tool (tap flower > Tools) to auto-generate a 3-line version—then redraw it freehand.
- Trace → Rotate: Trace the same flower, then rotate your paper 90° and redraw key contours from memory. Builds spatial recall.
- Trace → Flip: Flip the overlay horizontally and trace again. Challenges handedness bias and improves bilateral awareness.
Want structured daily practice? Our Easy Flower Sketching Practice with AR Overlay for Beginners in 2026 includes 7-day guided challenges—each focused on one flower type and one skill (e.g., “Day 3: Tulip — Mastering Stem Taper & Petal Curl”).
Bonus Tip: Combine AR Tracing with Traditional Learning
Pair your AR sessions with foundational knowledge. Read our Flower Drawing for Beginners: Easy AR Tracing Tips (2026) for quick primers on petal counts, pistil/stamen anatomy, and seasonal bloom patterns. Understanding *why* a flower looks the way it does makes tracing more intuitive—and drawing from life far more achievable.
Conclusion: Start Today, Bloom Tomorrow
Learning how to trace a flower image on paper shouldn’t require special equipment, studio space, or art-school debt. In 2026, it takes an iPhone, a sheet of paper, and 90 seconds to begin. AR Drawing removes the friction—so you can focus on what matters: the quiet satisfaction of your pencil following a petal’s curve, the thrill of seeing your hand finally match what your eye sees, and the slow, steady growth of real artistic confidence.
Ready to trace your first flower? Download AR Drawing on the App Store today—and try tracing a daisy or sunflower in under 5 minutes. Your future self, holding a finished sketchbook full of blossoms, will thank you.
P.S. For more inspiration, explore our curated collection of flower drawing for beginners resources—including printable outlines, seasonal tracing calendars, and community galleries.