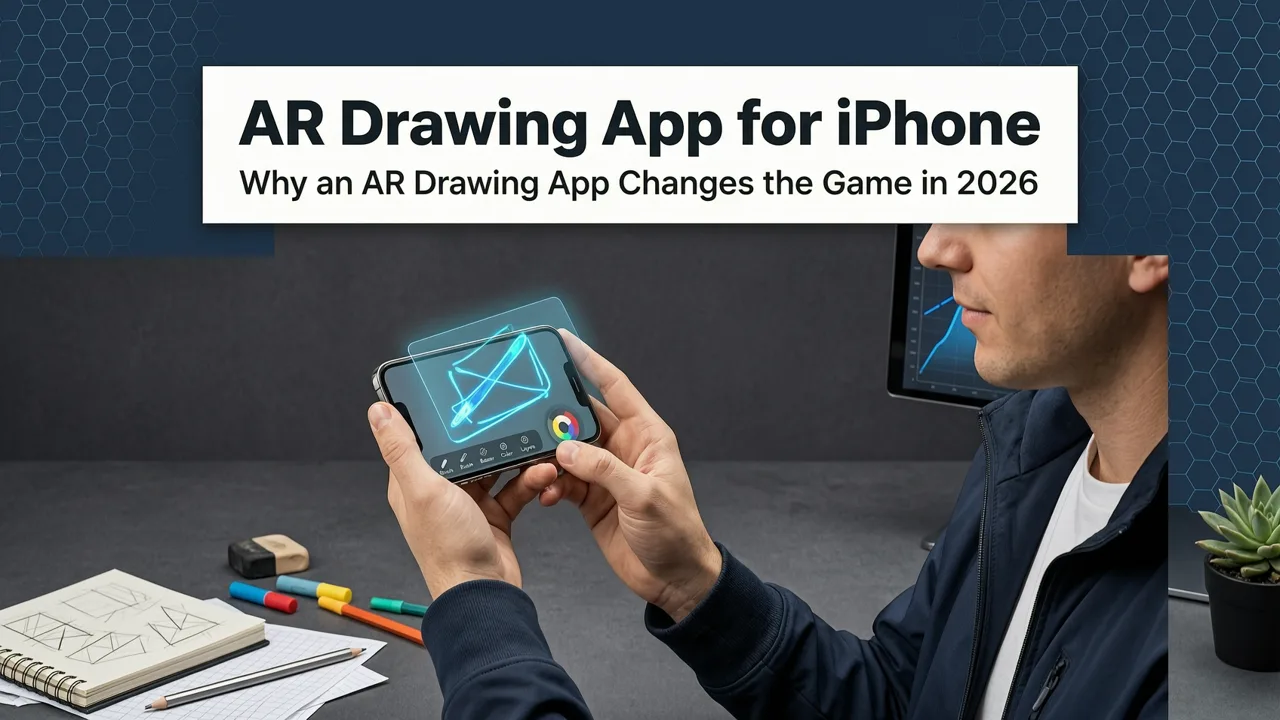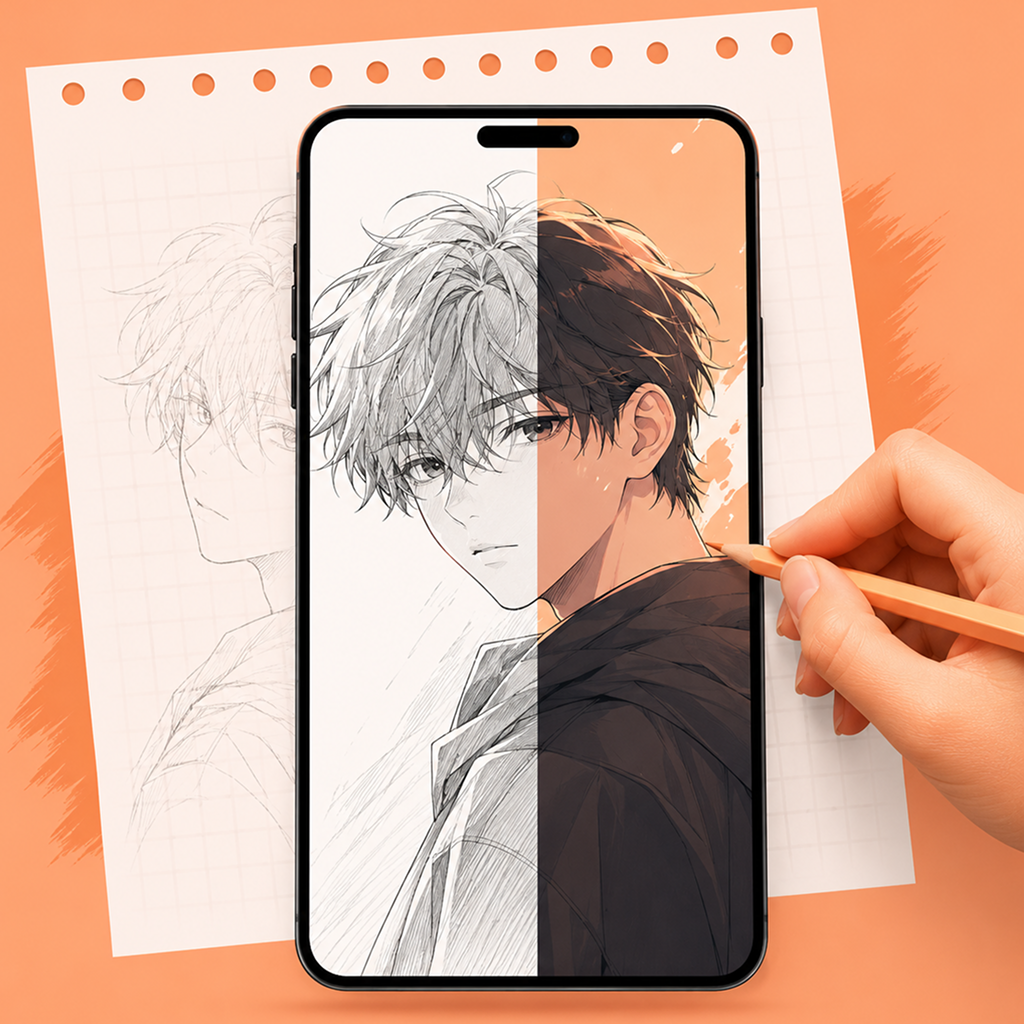
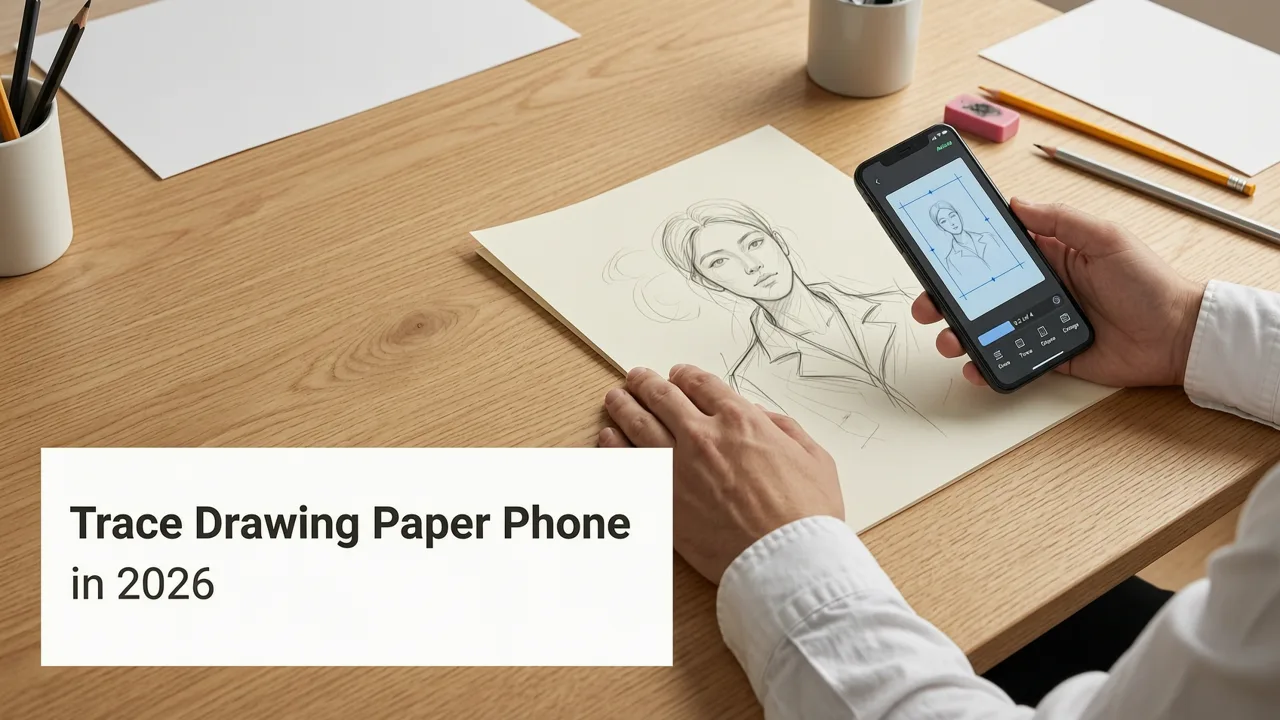
If you’ve searched for how to trace drawing on paper with phone, you’re probably holding your iPhone, staring at a blank sheet—and wondering: Can my phone really help me draw better without buying expensive gear? Yes—and in 2026, it’s simpler, more accurate, and more accessible than ever. With augmented reality (AR) tracing apps like AR Drawing, your smartphone becomes a portable, real-time tracing guide that overlays images directly onto your paper through the camera. No projectors. No lightboxes. No extra hardware.
How to Trace a Drawing on Paper with Your Phone in 2026
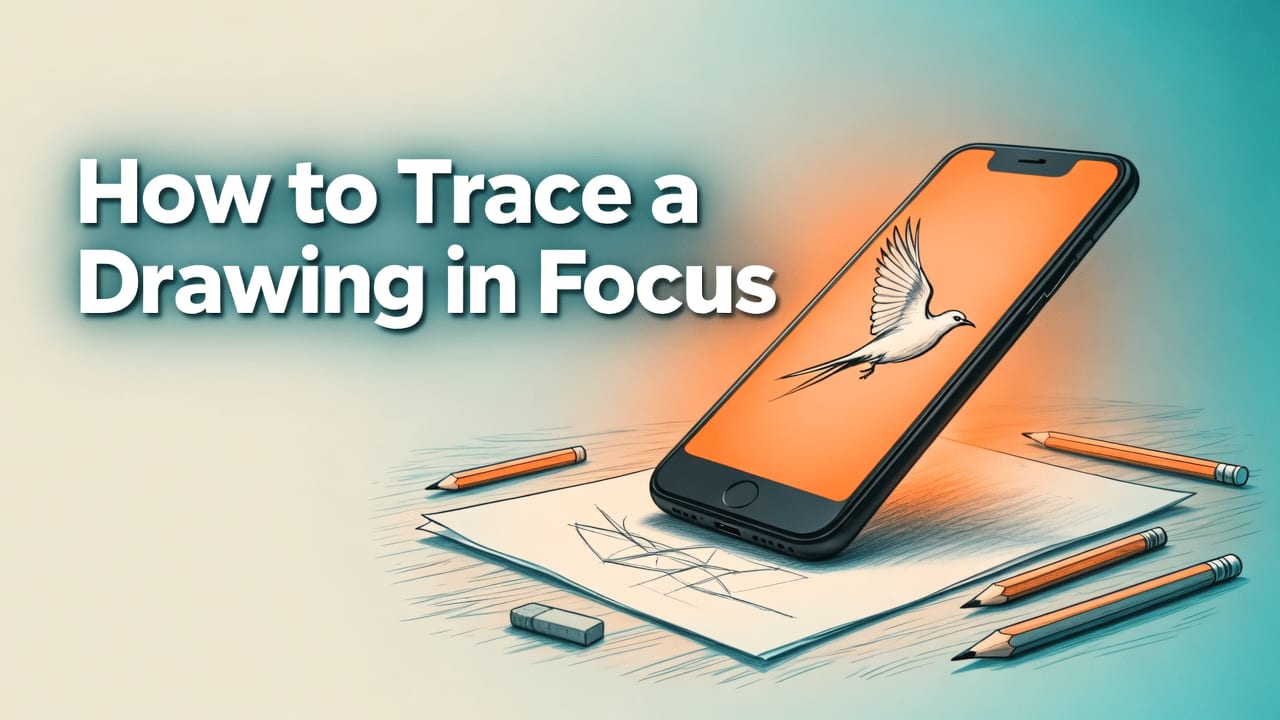
In this guide, we’ll walk you through exactly how to trace a drawing on paper with your phone—step by step—using today’s most intuitive AR-powered method. We’ll cover setup, alignment tricks, best practices for accuracy, common pitfalls (and how to avoid them), and why this approach is especially powerful for beginners and hobbyists in 2026.
Why Tracing with Your Phone Makes Sense in 2026
Before diving into the steps, let’s address the ‘why.’ In 2026, smartphone cameras are sharper, AR frameworks are more stable, and battery efficiency has improved dramatically—making on-the-go tracing not just possible, but genuinely enjoyable. Unlike older methods (like printing and cutting reference images or using dimly lit windows), modern AR tracing gives you:
15 ways how to trace or transfer a photo, image, or drawing ■ Tracing Masterpieces
by Tracing Masterpieces
- Real-time scaling and rotation — Adjust your image to fit any paper size instantly
- Paper-anchored alignment — Once set, the overlay stays locked to your physical surface—even if you tilt or shift your phone slightly
- No calibration headaches — No need for printed markers, QR codes, or manual grid setups
- Zero added cost — You already own the hardware. Just download the app.
That’s why so many new artists are choosing a free tracing app no tablet over traditional tools—it delivers professional-grade precision without the learning curve or investment.
What You’ll Need (Just 3 Things)
You don’t need fancy supplies. Here’s your complete 2026 starter kit:
- An iPhone (iOS 17 or later) — AR Drawing supports all iPhones from the XR onward, including the latest iPhone 17 series released earlier this year
- A blank sheet of paper — Standard printer paper works fine; thicker sketch paper (90–120 gsm) gives better pencil grip and less bleed-through
- The AR Drawing app — Free to download on the App Store, with optional Pro features (more on those later)
No Bluetooth stylus required. No external lighting. No tripod (though one helps for long sessions). Just you, your phone, and curiosity.
Step-by-Step: How to Trace a Drawing on Paper with Your Phone
Step 1: Choose or Upload Your Reference Image
Open AR Drawing and tap + New Tracing. You can:
- Select from built-in practice sketches (e.g., “Cat Profile,” “Hand Anatomy,” “Simple Vase”)
- Upload your own photo or digital drawing from your Photos library
- Import from cloud services (iCloud, Google Drive, Dropbox) via iOS Share Sheet
Pro tip for beginners: Start with high-contrast, line-based references—not photos with heavy shading or busy backgrounds. Clean outlines make alignment easier and tracing more forgiving. For inspiration, check out our curated collection of AR drawing app for beginners exercises.
Step 2: Position Your Phone Over the Paper
Hold your iPhone about 12–18 inches above the center of your sheet, lens pointing straight down (not angled). The app will detect your paper’s edges automatically using ARKit 6—no manual framing needed. If the detection wobbles:
- Ensure your room has even, ambient light (avoid direct overhead glare or backlighting)
- Use a matte-finish paper—glossy surfaces reflect too much and confuse edge detection
- Tap the screen lightly to re-trigger surface recognition
Once detected, a soft blue outline appears around your paper in the viewfinder—your anchor is set.
Step 3: Align and Scale the Overlay
This is where AR Drawing shines in 2026. Instead of guessing proportions, use intuitive gestures:
- Pinch to zoom — Resize the image to match your paper’s dimensions
- Drag with two fingers — Reposition the overlay precisely where you want to start tracing
- Rotate with twist gesture — Match the angle of your reference (e.g., align a portrait head with your paper’s top edge)
The app remembers your settings per image—so if you pause and return later, your scale and position stay intact. Bonus: toggle between Outline Only and Full Color modes depending on whether you want clean lines or tonal guidance.
Step 4: Begin Tracing (With Confidence)
Now comes the fun part. Place your pencil on the paper—and look at the paper, not the screen. That’s right: the magic happens when you keep your eyes on your hand and surface while the phone hovers above, projecting the guide invisibly (to you) but perfectly aligned (to the app).
Because AR Drawing uses real-time plane tracking, slight movements won’t throw off the overlay. Even if you lift your phone to adjust your posture or reach for an eraser, the image snaps back into place within half a second.
For smoother results:
- Start with light, loose strokes—build confidence before committing to dark lines
- Trace key anchor points first (eyes, ears, corners of shapes), then connect them
- Pause every 2–3 minutes to rest your eyes and compare your work to the original
Many users report noticeable improvement in hand-eye coordination and spatial awareness after just five 15-minute sessions—a benefit confirmed in user feedback from our AR Drawing app review — real user experience in 2026.
Common Mistakes (and How to Fix Them)
Even with great tech, small habits can trip up beginners. Here’s what to watch for—and how to course-correct:
| Mistake | Why It Happens | Quick Fix |
|---|---|---|
| Overlay drifts during tracing | Poor lighting or reflective paper surface interferes with AR tracking | Switch to a matte sheet and add a soft lamp beside (not behind) your workspace |
| Image looks blurry or pixelated | Reference image resolution is too low (< 1024px wide) or heavily compressed | Re-export from original source at 1500–2000px width; avoid screenshots of web images |
| Tracing feels “off” in proportion | Phone isn’t held perpendicular—causing perspective distortion | Use the built-in Level Guide (tap the compass icon) to auto-correct tilt |
| Can’t see pencil marks under overlay | Overlay opacity is too high, or pencil lead is too light | Lower opacity to 60–70% in Settings > Display; try HB or B graphite for visibility |
Why This Method Beats Traditional Tracing Tools in 2026
Let’s be honest: tracing isn’t cheating—it’s training. And in 2026, AR-powered tracing offers distinct advantages over legacy alternatives:
- Lightbox vs. Phone: Lightboxes require power, cables, and flat surfaces. Your phone works anywhere—even outdoors on a picnic table.
- Projector vs. Phone: Projectors need dark rooms, focus adjustments, and wall/surface prep. AR Drawing works in daylight and adapts to any surface texture.
- Print-and-Cut vs. Phone: Printing wastes ink and paper; misalignment is common. With AR, your reference lives digitally—and adjusts on demand.
Plus, unlike static methods, AR Drawing encourages active learning: you’re constantly adjusting, comparing, and refining—not just copying. That’s why educators and self-taught artists alike rank it among the best phone sketch tracing app for beginners in 2026.
Going Beyond Tracing: What You Can Do Next
Once tracing feels natural, AR Drawing helps you level up:
- Flip Mode: Mirror your overlay horizontally or vertically—great for practicing symmetry and checking proportions
- Grid Toggle: Add a subtle 4×4 or 8×8 grid to break complex subjects into manageable sections
- Time-Lapse Capture: Record your session and replay it to spot habits (e.g., rushing curves or hesitating on lines)
- Export & Share: Save traced versions as PNG or PDF, or share progress with art communities for feedback
And because AR Drawing integrates with Apple Pencil (when used alongside compatible cases), you can switch seamlessly between tracing and freehand refinement—all within the same canvas.
Frequently Asked Questions
Can I use Android?
Not yet. AR Drawing is optimized exclusively for iOS devices in 2026 due to deeper ARKit integration and consistent camera hardware across models. We’re monitoring Android’s ARCore improvements—but stability and latency remain hurdles for real-time paper anchoring.
Do I need Wi-Fi or internet to trace?
No. All image processing and AR tracking happen locally on-device. You only need connectivity for initial download, updates, or cloud imports.
Is tracing with my phone considered “real” drawing?
Absolutely—if your goal is skill-building. Tracing builds muscle memory, trains your eye to see relationships between shapes and negative space, and reduces frustration so you stay engaged longer. Think of it as guided practice, like scales for a musician.
How often should I trace to improve?
Consistency beats duration. Just 10 focused minutes, 3x/week, yields measurable gains in line confidence and observational accuracy within 3–4 weeks—based on user journal data from our 2026 community survey.
Final Thoughts: Your Phone Is Already Your Best Art Tool
Learning to draw shouldn’t mean waiting for the “right” equipment—or believing you need innate talent. In 2026, your iPhone is already equipped with everything you need to begin tracing accurately, building control, and gaining confidence—one calm, guided session at a time. Whether you’re sketching portraits, practicing botanical illustration, or just doodling to unwind, how to trace drawing on paper with phone is no longer a workaround—it’s a smart, joyful, and deeply human way to learn.
Ready to begin? Download AR Drawing free on the App Store and try your first tracing session today. Then explore our AR Drawing app for beginners guide for daily challenges and pro tips.