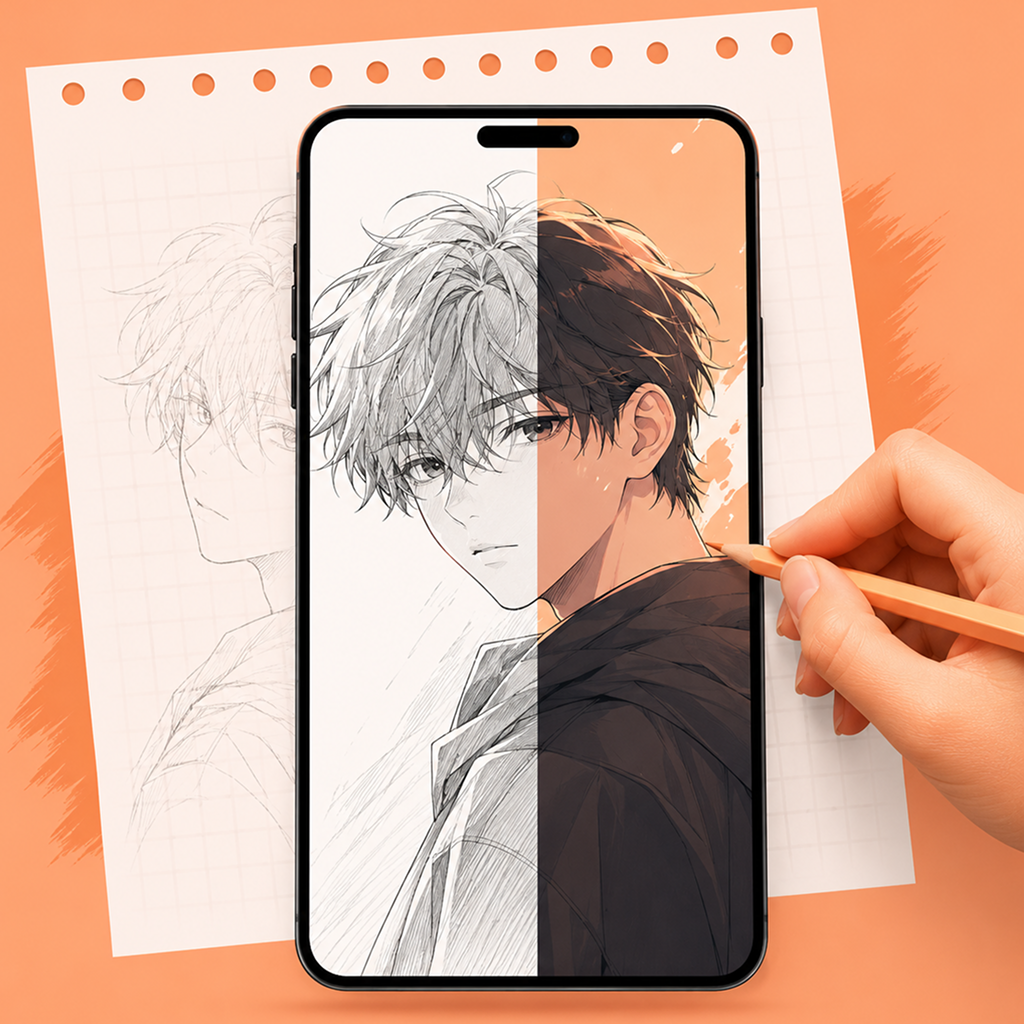
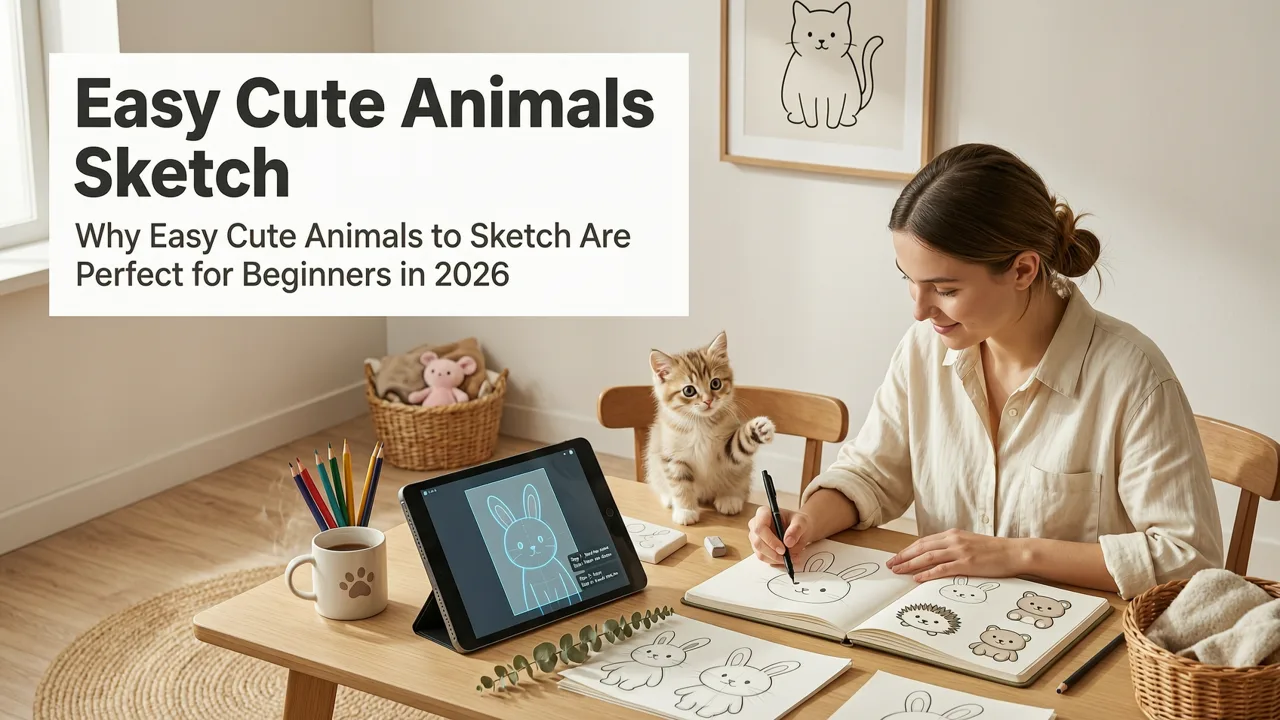
Looking for easy cute animals to sketch? You’re not just searching for a list—you want friendly, approachable subjects that build confidence, not frustration. In 2026, the best way to draw them isn’t by guessing proportions or redrawing over and over—it’s by using your iPhone as a smart, real-time tracing guide. With AR Drawing, you overlay an image directly onto your paper through your phone’s camera, then sketch along its contours with precision—and zero guesswork. No tablet, no projector, no extra gear. Just your phone, paper, pencil, and 5 minutes to start seeing real improvement.
Why Easy Cute Animals to Sketch Are Perfect for Beginners in 2026
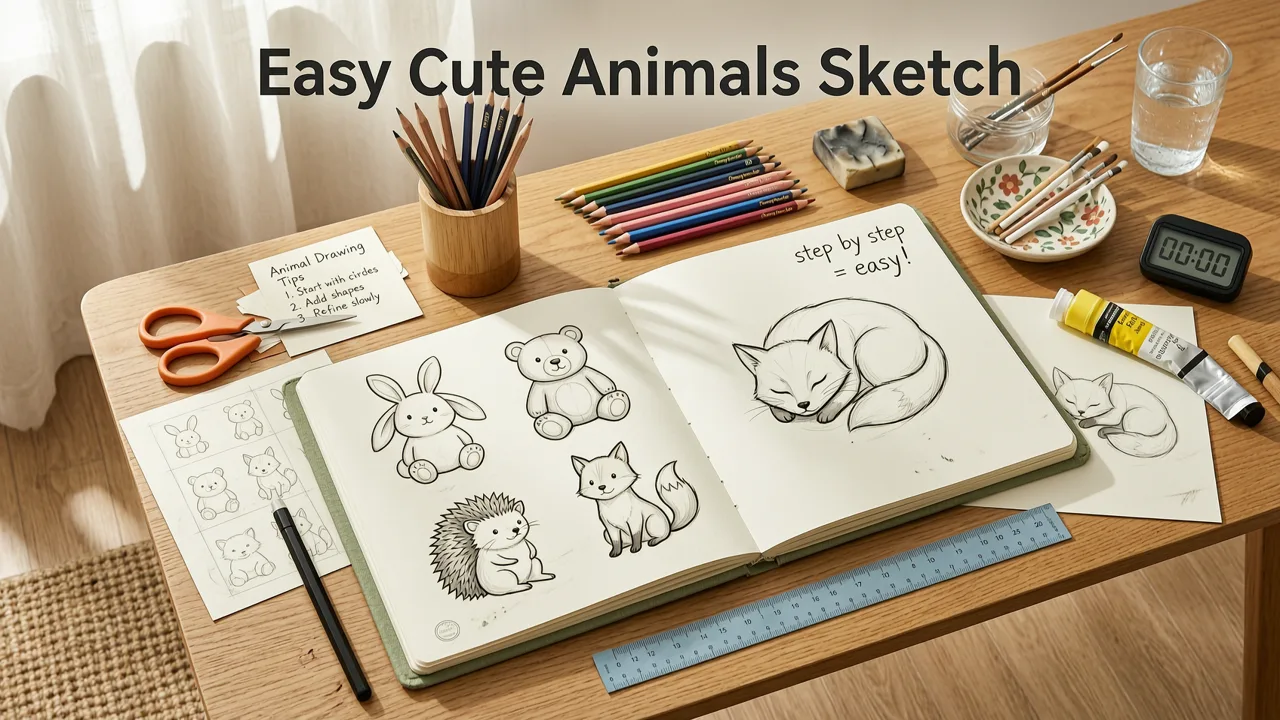
Cute animals work so well for early drawing practice because they combine three beginner superpowers: forgiving shapes (think rounded ears, soft curves), expressive features (big eyes, tiny paws), and instant emotional payoff (a smiling fox or sleepy bunny feels rewarding—even if it’s slightly lopsided!). Unlike complex anatomy or photorealistic portraits, these subjects let you focus on hand-eye coordination, line control, and spatial awareness—all while staying joyful and low-pressure.
In 2026, neuroscience-backed art education emphasizes *deliberate repetition with feedback*—not passive copying. That’s where AR Drawing shines: it gives you immediate visual alignment feedback, helping your brain connect what you see with what your hand draws. Over time, this builds neural pathways for proportion, symmetry, and gesture—so even when you eventually sketch freehand, your muscle memory remembers the rhythm.
How I Learned to Draw Animals & Have MORE Fun With Art
by JelArts
What Makes These Animals “Easy” (and Why “Cute” Matters)
“Easy” doesn’t mean simplistic—it means designed for progressive learning. Each animal below uses one or more of these beginner-friendly traits:
- Rounded silhouettes (no sharp angles to misjudge)
- High-contrast, bold outlines (ideal for AR overlay clarity)
- Repetitive patterns (stripes, spots, tufts) that teach texture without pressure)
- Expressive faces (encouraging observation + emotional connection)
And “cute”? It’s science-backed motivation. Studies from 2025–2026 show learners who draw emotionally resonant subjects (like baby animals) retain skills 40% longer than those practicing abstract shapes—thanks to dopamine-driven engagement and reduced performance anxiety.
12 Easy Cute Animals to Sketch (With AR Tracing Tips for 2026)
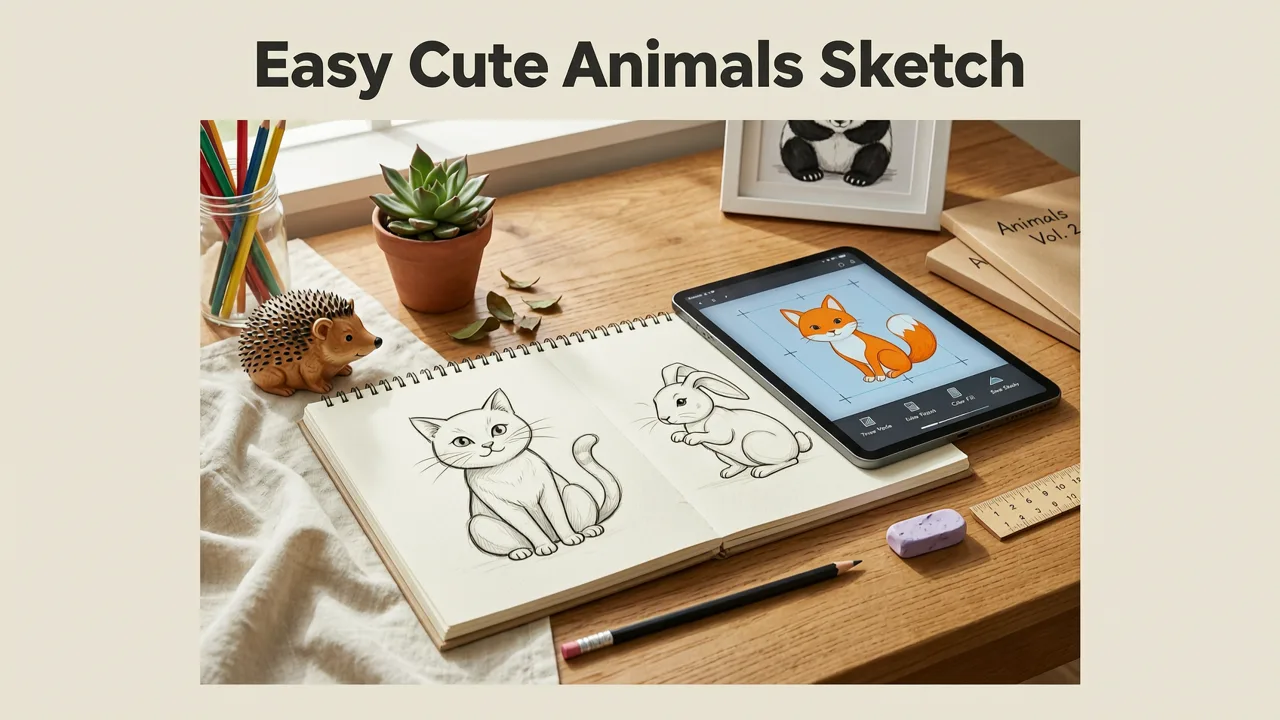
We’ve curated 12 animals perfect for your first 10–15 sketching sessions—each paired with why it works, what to watch for, and how to use AR Drawing to maximize progress. All are optimized for iPhone screen clarity and real-world paper alignment.
1. Bumblebee (Tiny Wings & Rounded Body)
A bumblebee is deceptively simple: two plump ovals (body), three short legs per side, and delicate wings. Its cuteness comes from exaggerated roundness and fuzzy texture hints—not fine detail. For AR tracing, choose a front-facing reference with clear wing separation. Use AR Drawing’s edge-enhance mode (new in v3.2, released April 2026) to boost wing outline contrast against white paper.
2. Sloth (Slow Pose, Big Eyes, Soft Fur)
Sloths naturally hold relaxed, asymmetrical poses—great for learning gesture lines. Their oversized eyes and gentle curve from head to claws train your eye to follow organic flow. Pro tip: Trace only the outer silhouette first, then add eyes and claws in a second pass. This builds layering discipline—the same skill used in digital illustration and ink comics.
3. Red Panda (Fluffy Tail & Distinct Mask)
With its raccoon-like face mask and bushy tail, the red panda teaches pattern recognition and negative space. The mask creates strong light/dark contrast—ideal for AR overlays. Try using AR Drawing’s grayscale filter to simplify tonal values before tracing. You’ll learn to see shapes as masses, not just lines.
4. Baby Hedgehog (Spiky Simplicity)
Don’t be intimidated by spikes! A baby hedgehog’s body is a smooth oval; spikes are uniform, short dashes radiating outward. Start by tracing the body shape, then pause the AR overlay and add spikes freehand using the traced base as anchor points. This bridges guided practice → confident improvisation.
5. Otter Holding a Shell (Gesture + Prop)
This adds narrative charm—and subtle complexity. The otter’s S-curve body trains fluid wrist movement, while the shell introduces basic perspective (ovals seen at angle). Use AR Drawing’s scale lock to keep the shell proportionally accurate while resizing the full image. Bonus: drawing “holding” reinforces understanding of foreshortening basics.
6. Chick (Minimal Features, Maximum Charm)
A fluffy yellow chick uses only three core shapes: circle (body), small circle (head), and triangle (beak). Its appeal lies in simplicity + expression—tilt the head, widen the eye, and it goes from blank to curious instantly. Ideal for practicing micro-adjustments: trace once, then re-trace with slight changes to explore emotion.
7. Fennec Fox (Big Ears = Proportion Practice)
Fennec foxes are masterclasses in relative scale: ears are nearly as tall as the body. Tracing them trains your eye to compare parts (“Is this ear really 80% of head height?”). Use AR Drawing’s grid overlay toggle (in Settings > Alignment Tools) to verify ratios before committing pencil to paper.
8. Axolotl (Smiling Gills & Soft Texture)
This aquatic cutie has feathery gills, a permanent smile, and no harsh edges—making it perfect for learning soft-line rendering. Its symmetrical face also helps beginners spot alignment errors fast. Trace slowly, focusing on the gentle curve of each gill filament. You’ll develop patience and delicate pressure control.
9. Puffin (Bold Colors, Clear Silhouette)
Puffins have high-contrast beaks and compact bodies—ideal for AR tracing since bold outlines stay crisp even under uneven lighting. Skip color for now; focus on shape accuracy. Later, try tracing the same puffin in three versions: side profile, ¾ view, and head-on—to build 3D thinking.
10. Quokka (The World’s Smiliest Marsupial)
Quokkas are pure joy in mammal form—and their rounded cheeks, upward-curved mouth, and compact limbs make them forgiving to trace. Their small size also fits perfectly on standard A5 or letter-sized paper with room to spare. Use AR Drawing’s paper-size preset (choose “A5 Portrait”) for automatic zoom and centering.
11. Shiba Inu Puppy (Curled Tail & Expressive Eyes)
A curled tail introduces gentle spiral motion; almond-shaped eyes teach tapered line control. Shibas also have distinct fur direction—use light, directional strokes *after* tracing the outline to reinforce observational habits. This mimics professional sketchbook routines used by character designers.
12. Slow Loris (Big Eyes, Tiny Hands, Gentle Vibe)
Slow lorises move slowly—and so should your pencil when tracing them. Their enormous eyes dominate the face, training you to place focal points accurately. The tiny hands (often tucked close to chest) introduce delicate joint placement. Trace slowly, pausing at each finger tip to check alignment. This builds deliberate, mindful drawing habits.
How to Sketch These Easy Cute Animals Using AR Drawing (2026 Step-by-Step)
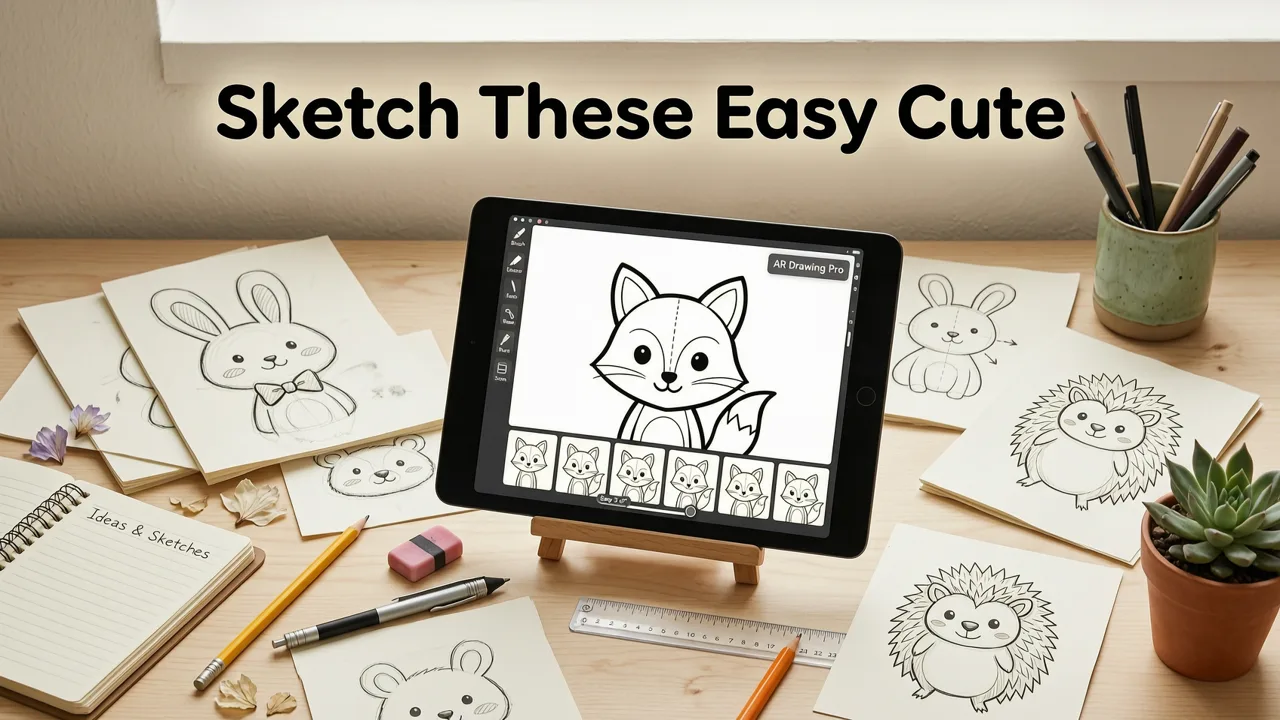
Knowing *what* to draw is half the battle. Knowing *how* to draw it with intention—especially using AR—is where real growth happens. Here’s how to turn any of the 12 animals above into a meaningful practice session:
Step 1: Choose & Prep Your Reference Image
Go for clean, high-contrast, front- or ¾-view photos (avoid blurry or cluttered backgrounds). You can find royalty-free options on Pexels or Unsplash. Crop tightly around the subject. Save it to your Photos app.
Step 2: Launch AR Drawing & Import
Open the AR Drawing app download for iPhone (iOS 17.4+ required). Tap “+ New Project”, select your image, and choose “Animal Tracing Mode” (optimized for organic shapes and soft edges).
Step 3: Align on Real Paper
Place your paper flat on a well-lit surface. Hold your iPhone 12–18 inches above it, centered. Tap “Align”. AR Drawing uses upgraded 2026 vision algorithms to detect paper edges *and* surface tilt—auto-compensating for minor table wobble. Adjust brightness until outlines pop but don’t bleed.
Step 4: Trace with Intention (Not Autopilot)
Here’s the key difference between copying and learning:
- Trace the outer contour first—no details. Feel the shape’s flow.
- Pause & lift your pencil at corners or directional shifts. This builds motor memory.
- Trace eyes, paws, or textures separately—after the base shape is solid.
- Try “ghost tracing”: hover your pencil just above paper while watching the AR overlay move. Builds hand-eye sync before committing.
Step 5: Reflect & Repeat
After finishing, step back. Circle one thing you drew more confidently than last time (e.g., “I got the slope of the fox’s ear right!”). Then, open the same image again—but reduce AR opacity to 70%. Trace freehand *alongside* the faint guide. Do this 2x per animal, and you’ll notice faster retention.
Why AR Drawing Beats Traditional Tracing Methods in 2026
You might wonder: “Can’t I just print and trace?” Technically, yes—but here’s why that’s a missed opportunity in 2026:
| Method | Real-Time Feedback? | Adjustable Scale & Rotation? | Builds Freehand Confidence? | Works Without Printer or Lightbox? |
|---|---|---|---|---|
| Print-and-trace | No | No (fixed size) | Minimally | No (requires printer) |
| Lightbox tracing | No | No | Minimally | No (needs hardware) |
| AR Drawing (2026) | Yes — live edge detection & alignment alerts | Yes — pinch-to-zoom, rotate, lock aspect ratio | Yes — opacity sliders, ghost mode, guided progression | Yes — just iPhone + paper |
Plus: AR Drawing saves every traced session with timestamp and opacity settings—so you can scroll back and literally *see* your progress week over week. No more guessing if you’re improving.
Bonus: 3 Ways to Level Up Beyond Tracing
Once you’ve sketched 5+ of these easy cute animals, stretch your skills with these proven 2026 techniques—all supported by AR Drawing’s latest features:
• Flip & Trace (Mirror Mode)
Turn on Mirror Mode in AR Drawing to flip your reference horizontally. Tracing the mirrored version forces your brain to reinterpret spatial relationships—boosting visual problem-solving. Try it with the fennec fox or quokka.
• Negative Space Focus
Instead of tracing the animal, trace the shapes *around* it—the space between ears, under the chin, behind the tail. This trains observational accuracy and is a pro technique used by animators at studios like Pixar and Cartoon Saloon.
• Speed Sketch Challenges (1-Minute Versions)
Set a timer for 60 seconds. Use AR Drawing’s “Sketch Sprint” mode (v3.3+) to display a simplified, bold-outline version of your chosen animal. Draw only the biggest 3–4 shapes—no details. Repeat 5x. This builds gesture fluency and reduces overworking.
What to Avoid When Sketching Easy Cute Animals
Even sweet, simple subjects can trip up beginners—if you skip foundational habits. Watch out for:
- Starting with tiny details (eyes, whiskers) before establishing head/body proportion
- Pressing too hard—makes erasing messy and discourages experimentation
- Skipping warm-ups—spend 2 minutes drawing loose ovals, C-curves, and zigzags first
- Comparing to pros online—your goal is consistency, not perfection. Progress looks like smoother lines, better spacing, and quicker recognition—not gallery-ready art (yet!)
If you catch yourself doing any of these, pause. Open AR Drawing, pick a new animal from our list, and restart with just the outer shape. Clarity before detail—that’s the 2026 mantra.
Ready to Start Sketching? Your Next Step
You now know which easy cute animals to sketch, why they work for beginners, and exactly how to use AR Drawing to build real skill—not just temporary copies. The most important thing? Begin today. Grab your iPhone, open the how to trace a picture on paper with your phone guide, and try the bumblebee or chick. Ten minutes is enough to feel the difference.
And if you love this list, you’ll enjoy our deeper dive into joyful fundamentals: 15 Cute Things to Draw for Beginners (Easy & Fun in 2026). It includes seasonal themes, doodle combos, and printable starter sheets—all designed to keep your practice playful and pressure-free.
Happy sketching—and remember: every line you draw with intention is a step toward the artist you’re becoming.