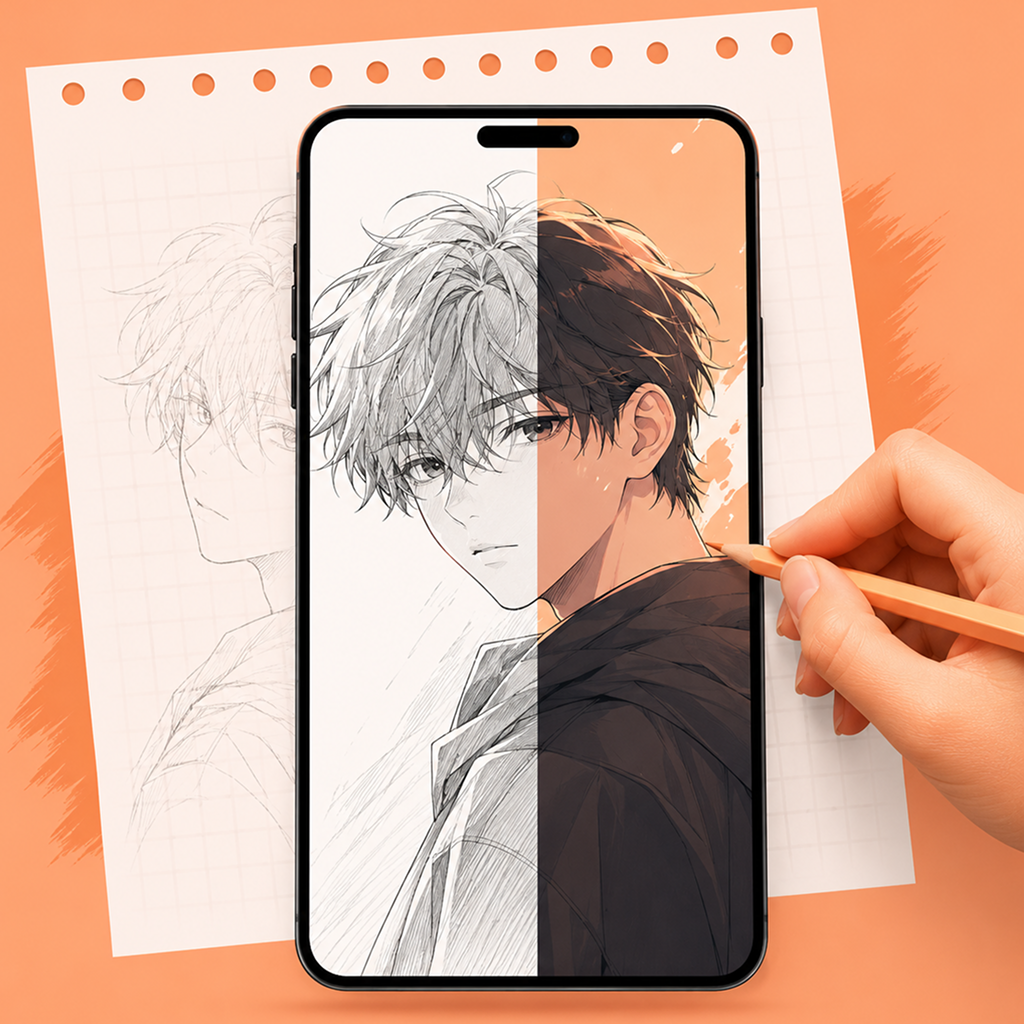
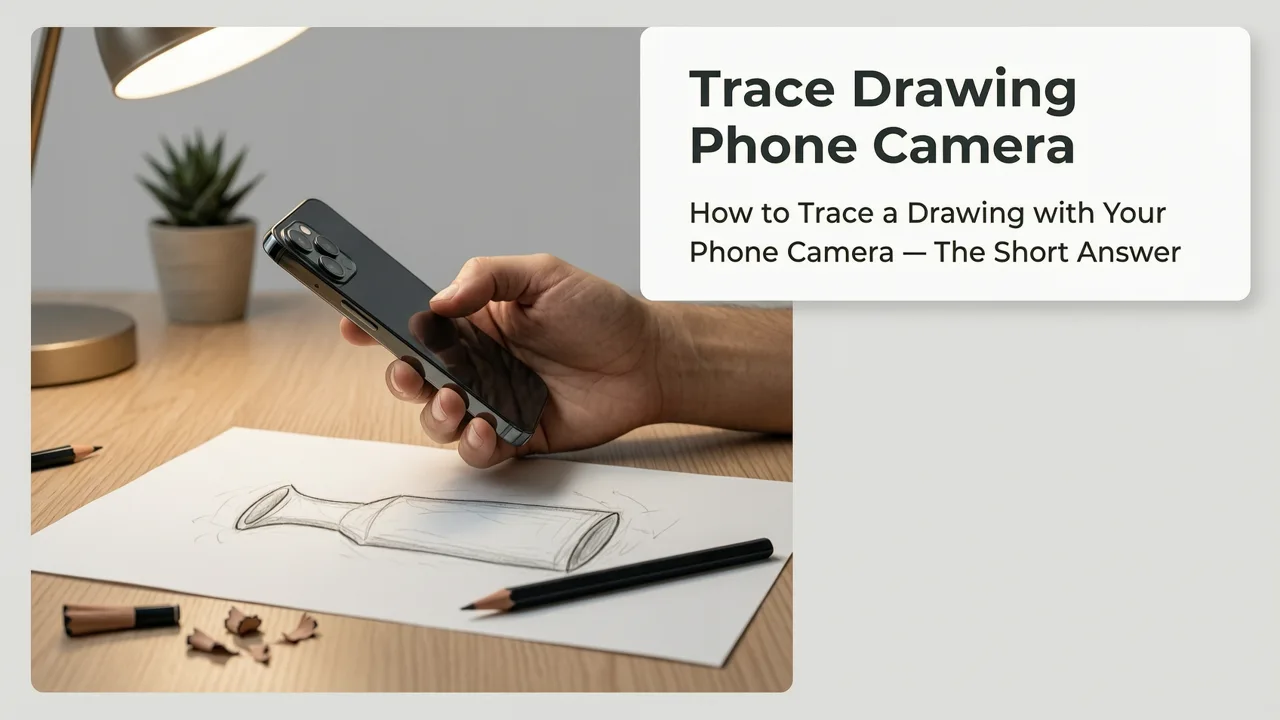
How to Trace a Drawing with Your Phone Camera — The Short Answer
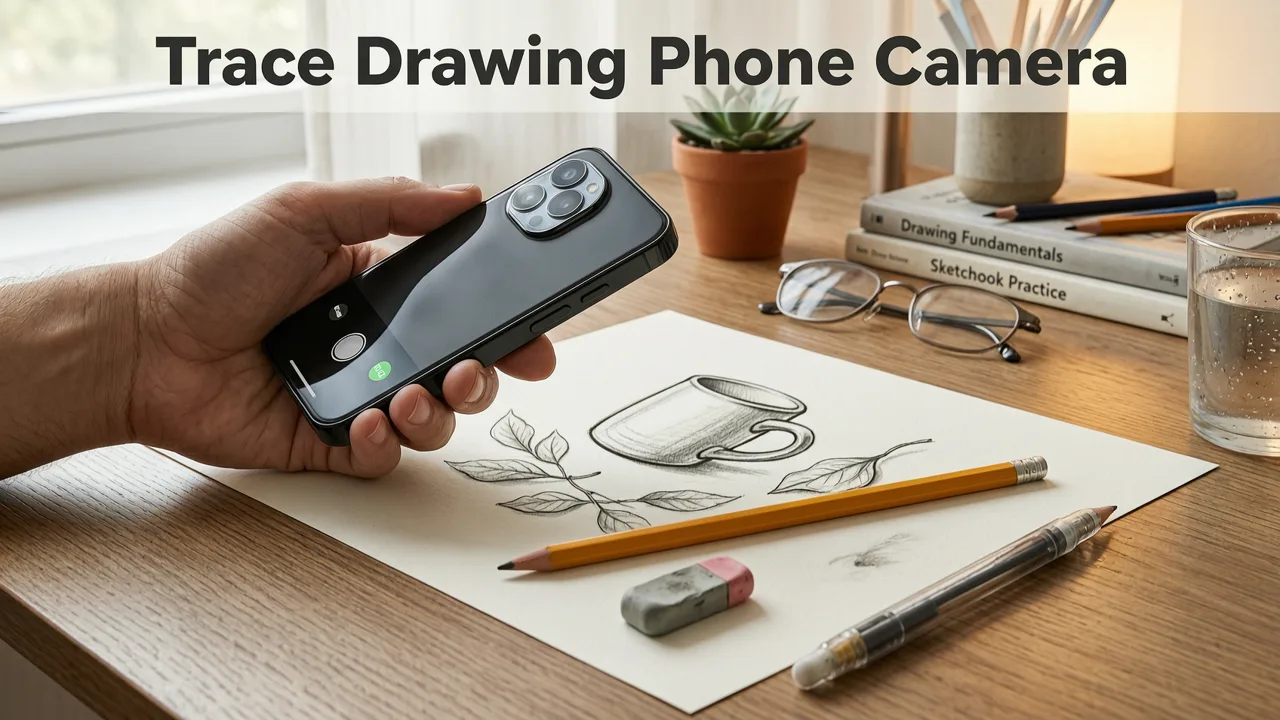
Wondering how to trace a drawing with your phone camera without buying a projector, light box, or expensive tablet? The answer is simpler than you think. You place your phone on a stable stand above your paper, load a reference image as a semi-transparent overlay on your screen, and trace the outlines directly onto the page below. That's essentially what AR Drawing does — it turns your smartphone camera into a real-time tracing guide, projecting the image onto your workspace through augmented reality.
In this guide, you'll learn exactly how to trace a drawing with your phone camera step by step, what supplies you need, how to set up your workspace for accuracy, and how to avoid the most common mistakes beginners make. Whether you're picking up a pencil for the first time or you're a hobbyist looking to sharpen your proportions, this walkthrough will get you tracing confidently in minutes.
Why Trace a Drawing with Your Phone Camera in 2026?
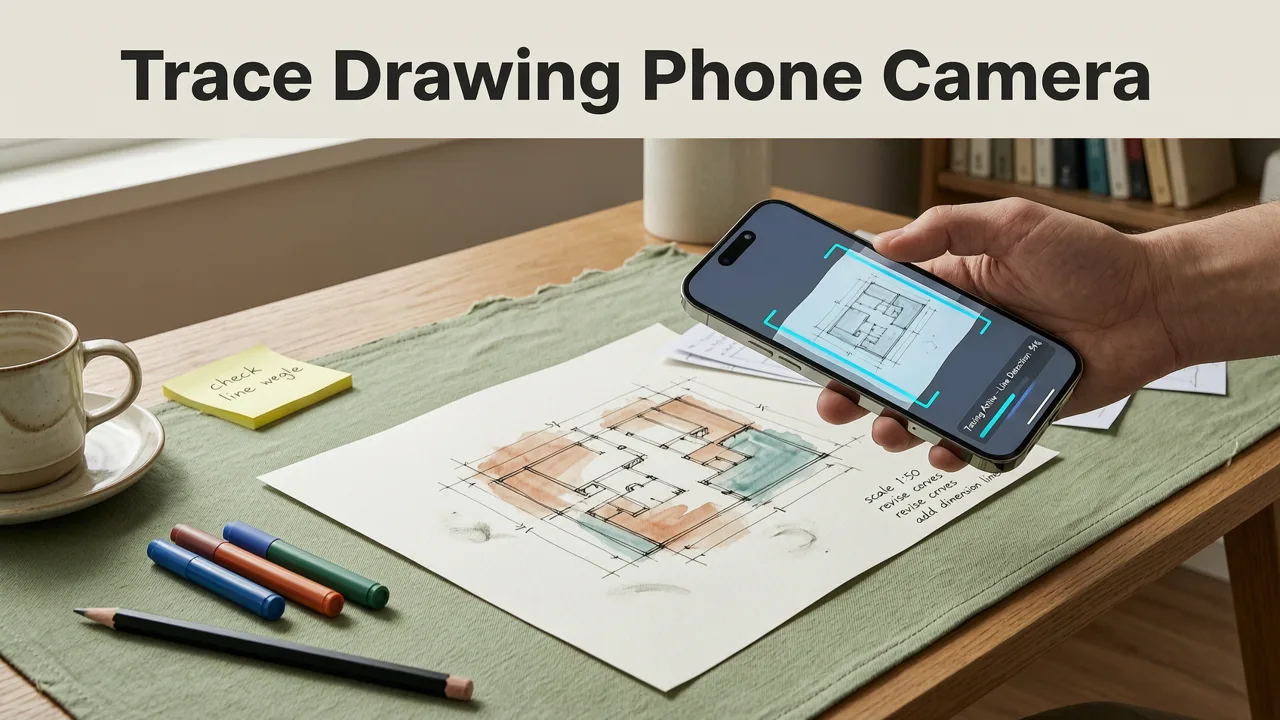
A few years ago, tracing meant buying an overhead projector, rigging up a makeshift light box, or awkwardly holding a reference photo next to your sketchbook. Today, augmented reality apps have made the process dramatically easier. You can trace a drawing with your phone camera using nothing more than your device, a stand, and a piece of paper.
Is the Lucy Drawing Tool Worth it?
by improvedrawing
Here's why this method has become the go-to approach for beginners and hobbyist artists in 2026:
- Zero extra equipment. No projectors, no light pads, no drawing tablets. Your phone handles everything.
- Real-time camera overlay. The image stays locked to your paper as you move, so you can trace without constantly repositioning your reference.
- Adjustable opacity and scale. You control how visible the guide lines are, so you can challenge yourself as your skills improve.
- Portable practice. Sketch at a café, on a park bench, or at your kitchen table — your tracing setup fits in your pocket.
- Faster skill development. Tracing builds muscle memory and spatial awareness, which translates directly into better freehand drawing over time.
If you've been searching for the best app to trace drawings on phone, AR Drawing is purpose-built for exactly this workflow. It's available on iOS and designed specifically for people who want to learn and practice drawing with their phone camera as a guide.
What You Need Before You Start

Before we walk through the steps, let's make sure you have everything ready. The beauty of this method is how little gear it requires.
Essential Supplies
- iPhone with AR Drawing installed. Any recent iPhone that supports ARKit will work.
- A phone stand or adjustable arm clamp. This is the single most important accessory. Your phone needs to stay still and positioned directly above your paper.
- Paper. Standard sketch paper, printer paper, or a drawing notebook all work fine.
- Pencils and erasers. Start with a regular HB or 2B pencil. A kneaded eraser is helpful for cleaning up guide lines.
- A reference image. A photo, a line drawing, or a design you want to reproduce.
Optional Upgrades
- Ring light or desk lamp. Good lighting helps the camera track your paper more reliably.
- Fine-liner pens. For inking your final traced lines once you're happy with the pencil sketch.
- Drawing glove. Prevents your hand from smudging graphite while you work.
Step-by-Step: How to Trace a Drawing with Your Phone Camera
Now for the main event. Here's the full process, broken down so you can follow along even if you've never tried phone-based tracing before.
Step 1: Set Up Your Phone Stand
Mount your phone on a stand or adjustable arm so the camera points straight down at your desk. The phone should hover about 20–30 centimeters above your paper. Make sure the stand is stable — any wobble will make the overlay shift while you're tracing.
If you don't have a dedicated phone stand, a gooseneck arm clamp or even a stack of books with your phone propped on top can work in a pinch. The key is keeping the camera parallel to the paper surface.
Step 2: Open AR Drawing and Load Your Reference Image
Launch AR Drawing on your iPhone. From the home screen, you can either pick an image from the built-in gallery or upload your own reference photo from your camera roll. Choose something with clear outlines — simple line art, logos, or basic illustrations work best for your first few traces.
Step 3: Align the Overlay with Your Paper
Once the image loads, AR Drawing will display it as a semi-transparent overlay through your phone's camera. Move the overlay so it lines up with the edges of your paper. You can pinch to resize and rotate the image until it sits exactly where you want it on the page.
Tip: Lower the opacity if the overlay feels too bright or distracting. You want to see the guide lines clearly without losing sight of your paper surface underneath.
Step 4: Start Tracing
With the overlay locked in place, take your pencil and start tracing the visible outlines onto your paper. Work slowly and follow the major shapes first — get the overall proportions down before adding details.
Here's a simple order to follow:
- Trace the largest outer shapes first (head, body, main objects).
- Add secondary shapes and proportions (facial features, limbs, smaller details).
- Refine with fine lines and textures last.
Step 5: Adjust as You Go
If the overlay drifts or you need a closer look at a section, you can reposition your phone slightly and re-align. AR Drawing's real-time tracking makes this quick. You can also toggle the overlay opacity up and down — dim it when you're confident about a section, brighten it when you need more guidance.
Step 6: Remove the Overlay and Refine
Once you've traced the main elements, hide the overlay and look at your sketch with fresh eyes. Clean up any wobbly lines, add shading or hatching if you want, and erase stray construction marks. This is where your drawing starts to feel like your own work rather than a copy.
How to Get Accurate Results Every Time
Tracing is straightforward, but accuracy depends on your setup. Here are the factors that matter most.
Keep Your Phone Parallel to the Paper
If your phone is tilted at an angle, the overlay will appear distorted on the paper — circles will look like ovals, and proportions will feel off. Take a moment to make sure the camera lens is pointing straight down, perpendicular to the paper surface.
Use Good, Even Lighting
Shadows on your paper can confuse the AR tracking and make the overlay flicker. A simple desk lamp or overhead light aimed at the paper (not directly at the phone camera) keeps things consistent. If you're tracing near a window, natural daylight works great — just avoid direct sun glare on the paper.
Start Simple, Then Increase Difficulty
Don't jump straight into a complex portrait or detailed illustration. Begin with basic shapes, cute doodle ideas for practice, or easy cute animals to sketch. These subjects have clean lines and forgiving proportions, which makes them ideal for building confidence. Once you're comfortable, move on to more detailed references.
Practice the Same Image Multiple Times
Tracing the same image two or three times in a row sounds repetitive, but it's one of the fastest ways to build hand control. Each pass, your muscles learn the curves and proportions a little better. By the third attempt, you'll often find you can draw parts of it freehand.
Common Mistakes to Avoid When Tracing with Your Phone
Even with a great app, a few small errors can make the experience frustrating. Here's what to watch out for.
| Mistake | Why It Happens | How to Fix It |
|---|---|---|
| Overlay keeps drifting | Phone is moving or lighting is uneven | Use a sturdy stand and add even lighting to the paper area |
| Traced proportions look wrong | Phone is tilted, not parallel to paper | Check that the camera lens points straight down at 90 degrees |
| Lines look wobbly or shaky | Rushing or pressing too hard | Slow down, use light pencil pressure, and trace in smooth strokes |
| Can't see the paper under the overlay | Opacity set too high | Lower the overlay opacity until both guide lines and paper are visible |
| Pencil smudges the drawing | Hand resting on wet graphite | Work from top to bottom, or use a drawing glove or scrap paper under your hand |
How Tracing with Your Phone Helps You Improve Faster
Some people worry that tracing is "cheating" or that it won't help them develop real drawing skills. That's a myth. Tracing is a legitimate learning tool used by artists at every level — and when you trace a drawing with your phone camera, the benefits are amplified because you're actively engaging with the image in real time.
Here's what happens when you trace regularly:
- You internalize proportions. Your brain starts to understand how large a head is relative to a body, or how eyes are spaced on a face.
- You build fine motor control. Following curves and angles with a pencil strengthens the small muscles in your hand.
- You learn to observe details. Tracing forces you to look closely at edges, intersections, and negative space — skills that transfer directly to freehand work.
- You gain confidence. Producing a recognizable drawing early on keeps you motivated to keep practicing.
Over time, you'll notice that you need the overlay less and less. That's the sign that tracing has done its job — it's taught your hand and eye to work together. If you want a structured approach, check out the how to draw cute things step by step guide, which walks you through beginner-friendly subjects designed for AR-assisted practice.
Tips for Getting the Most Out of AR Drawing
A few small habits will make your tracing sessions more productive and enjoyable.
Warm Up Before You Trace
Spend two or three minutes doing simple line exercises — circles, straight lines, zigzags — on a scrap piece of paper. This loosens your hand and gets you into a drawing mindset before you start a real project.
Set a Timer for Focused Sessions
Twenty to thirty minutes of focused tracing is more effective than an hour of distracted, half-hearted practice. Set a timer, put your phone on do not disturb, and give the session your full attention.
Keep a Progress Journal
Date your drawings and keep them in order. Looking back at your first traces a month later is one of the most motivating things you can do. You'll see real, measurable improvement — even on days when it doesn't feel like you're getting better.
Challenge Yourself with the Opacity Slider
Once you're comfortable with full tracing, try lowering the overlay opacity to 30 or 40 percent. You'll have to rely more on your eye and hand, which accelerates skill development. Eventually, try tracing with the overlay off entirely, using the image only as a quick visual check.
Phone Camera Tracing vs. Traditional Methods
If you're still on the fence about using your phone instead of a traditional method, here's a quick comparison to help you decide.
| Feature | Phone Camera (AR Drawing) | Overhead Projector | Light Box |
|---|---|---|---|
| Cost | Free app + a phone stand (~$15) | $50–$200+ | $20–$80 |
| Portability | High — fits in your bag | Low — bulky equipment | Medium — slim but needs a power source |
| Setup time | Under 1 minute | 5–10 minutes | 2–3 minutes |
| Image adjustment | Resize, rotate, opacity — all on screen | Limited manual adjustment | None — fixed image size |
| Works with any reference | Yes — upload any photo | Requires transparency sheets | Requires printed image on thin paper |
| Best for beginners | Yes | Overkill for most hobbyists | Good, but less flexible |
For most beginners and hobbyists in 2026, phone camera tracing is the clear winner. It's affordable, portable, flexible, and requires almost no setup. Traditional tools still have their place in professional studios, but for learning and daily practice, your phone is more than enough.
Frequently Asked Questions
Can I trace a drawing with any phone camera?
You need a phone that supports augmented reality. On iOS, that means any iPhone 6s or later running a compatible version of iOS. AR Drawing uses ARKit to lock the overlay to your paper, so older devices without AR support won't work as smoothly.
Do I need to buy a special phone stand?
No, but a stable stand makes a big difference. Any adjustable phone mount, gooseneck clamp, or overhead arm that holds your phone parallel to the paper will work. You can find affordable options online for under $20.
Is tracing with a phone considered cheating?
Not at all. Tracing is a time-tested learning technique used by professional artists, illustrators, and animators. It builds hand-eye coordination, teaches proportions, and develops muscle memory. The goal is to use tracing as a training tool, not as a shortcut to skip learning.
How long does it take to see improvement?
Most people notice better line control and proportion awareness within two to three weeks of regular practice — even just 15 to 20 minutes a day. The key is consistency. Short, focused sessions beat long, sporadic ones every time.
Can I use my own photos as tracing references?
Yes. AR Drawing lets you upload any image from your camera roll. You can trace from your own photos, screenshots, downloaded artwork (for personal practice), or images from the built-in gallery. Just make sure you have clear, well-lit reference images for the best results.
Start Tracing Today
Learning how to trace a drawing with your phone camera is one of the fastest, most affordable ways to build real drawing skills in 2026. You don't need expensive equipment, years of experience, or natural talent — you just need your phone, a stand, and a willingness to practice. AR Drawing makes the whole process simple, portable, and genuinely fun.
Grab your iPhone, download AR Drawing, set up your stand, and trace your first image tonight. Your future self — the one who can sketch confidently without an overlay — will thank you for starting today.