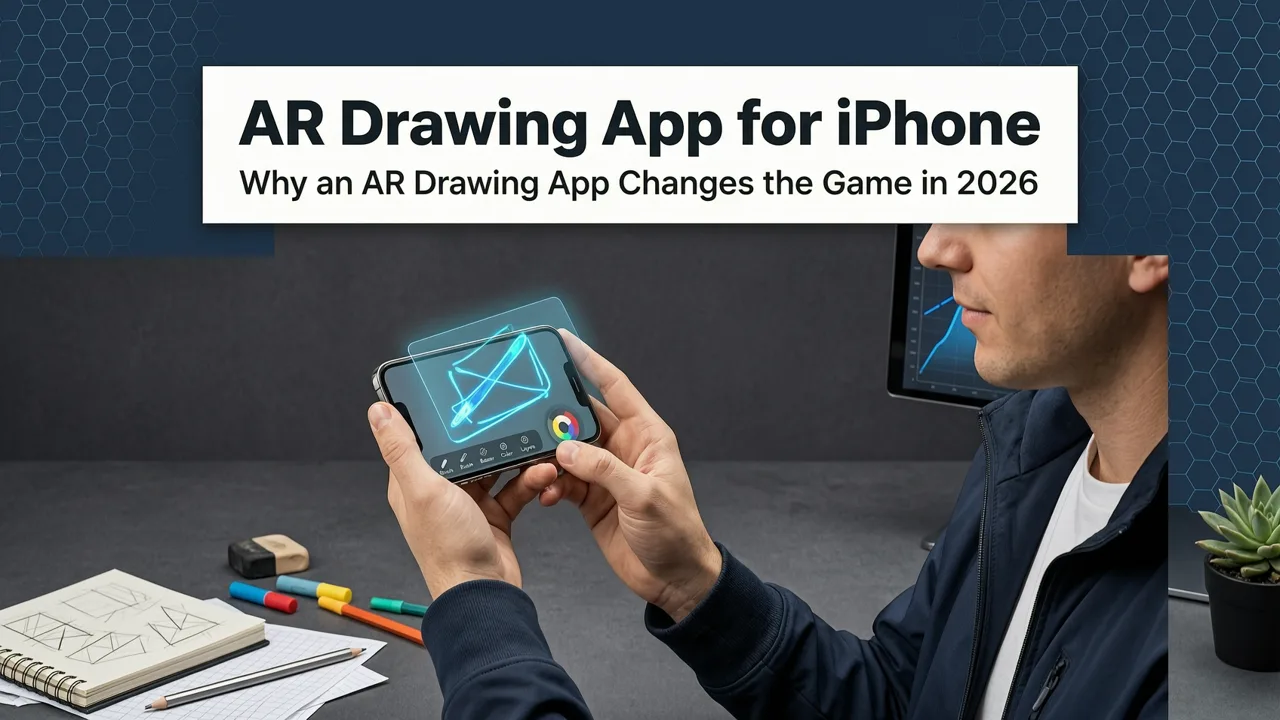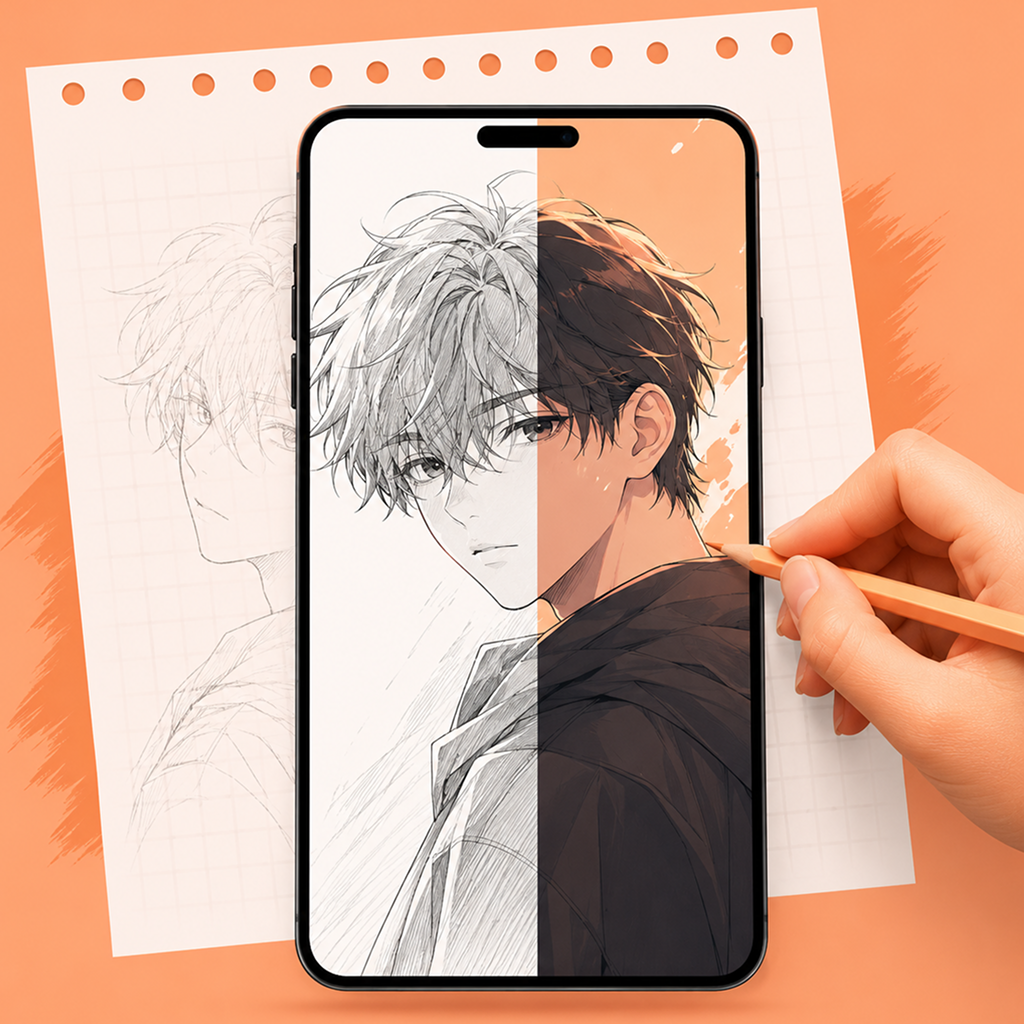
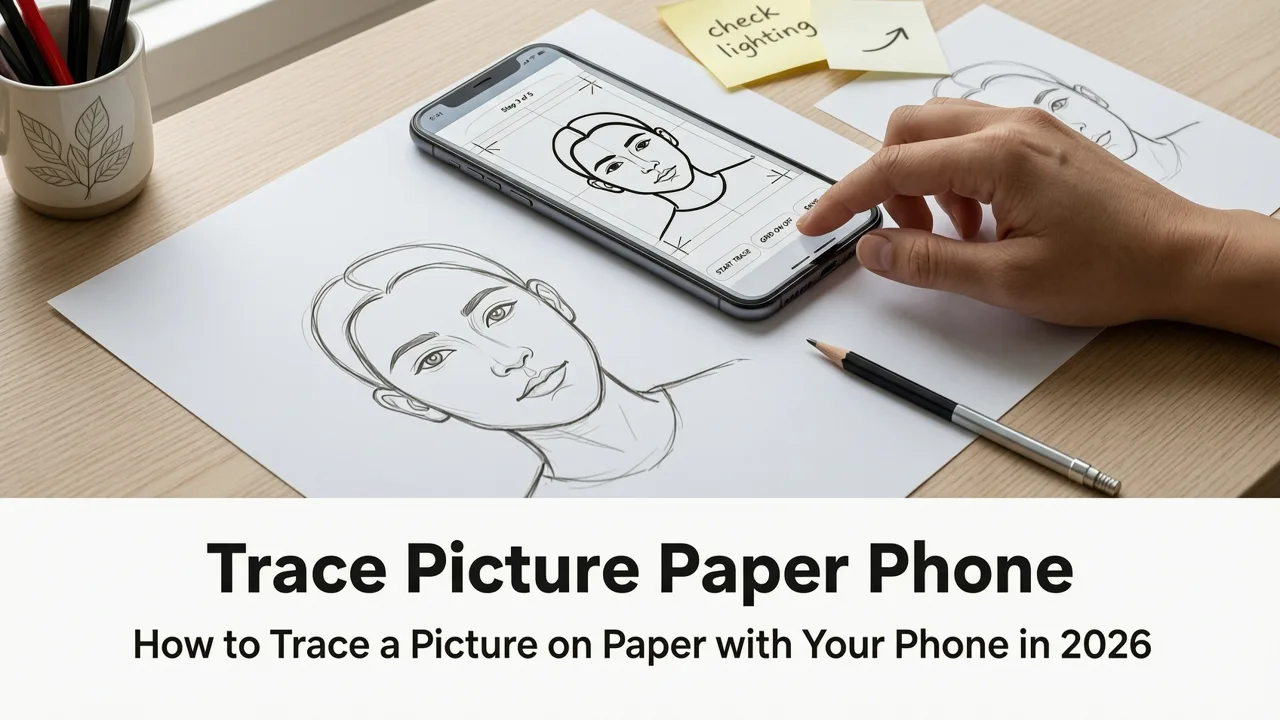
Want to know how to trace a picture on paper with your phone—and actually get better at drawing while you do it? In 2026, it’s simpler, smarter, and more effective than ever. You don’t need a projector, lightbox, or expensive tablet. Just your iPhone (iOS 17 or newer), a sheet of paper, a pencil, and AR Drawing—a free iOS app built specifically for this purpose.
This guide walks you through the full process—from choosing your image to refining your hand control—with real-world tips used by hobbyists and beginners across the U.S., UK, Canada, and Australia. No jargon. No fluff. Just clear, friendly steps that work in 2026.
How to Trace a Picture on Paper with Your Phone in 2026
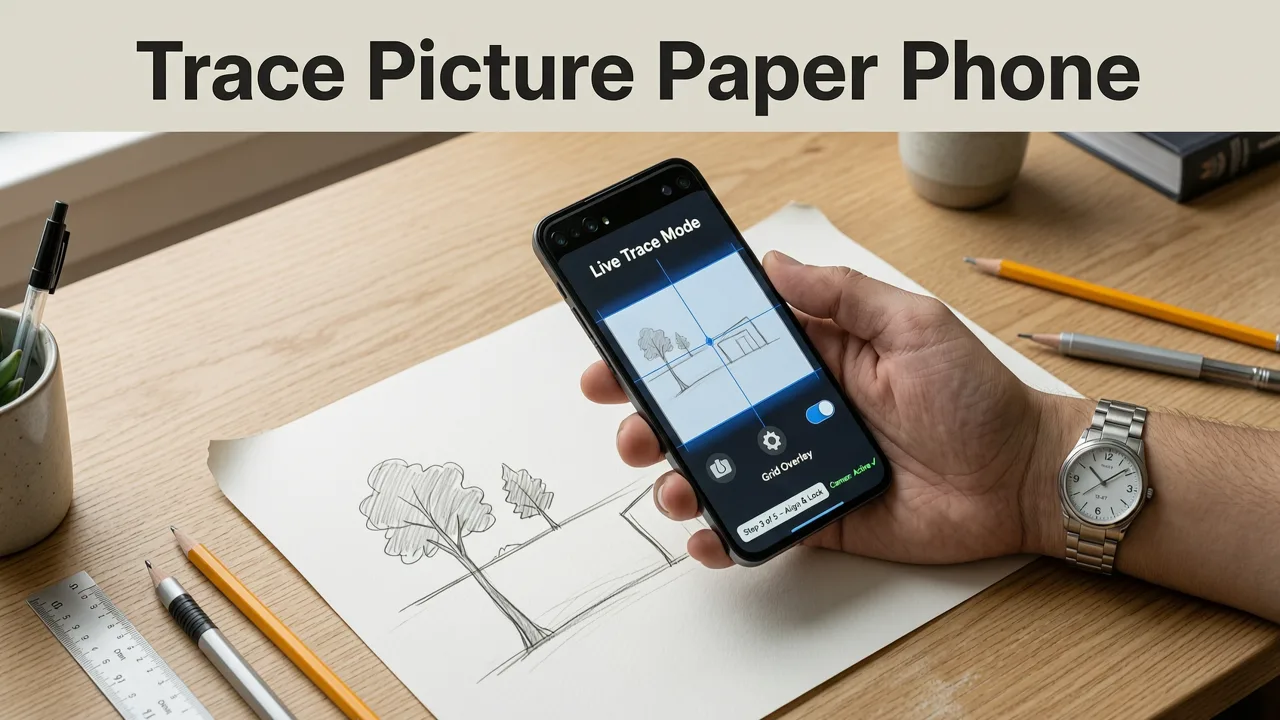
Tracing with your phone isn’t about copying—it’s about training your eye-hand coordination, building spatial awareness, and developing muscle memory for confident lines. Unlike traditional tracing (which often flattens depth perception), AR Drawing uses live camera overlay to help you see proportions, angles, and relationships in real time—on your actual paper.
TRANSFER ANY IMAGE WITH TRACING PAPER: Tracing Paper tricks to easily transfer drawings onto canvas
by Amanda Rinaldi
Here’s how it works in practice:
Step 1: Prepare Your Tools & Space
You’ll need just four things:
- An iPhone running iOS 17 or later (iPhone XR or newer recommended for optimal AR performance)
- A blank sheet of paper (printer paper works fine; thicker sketch paper gives less bleed-through)
- A pencil or fine-tip pen (mechanical pencils are great for light, erasable guidelines)
- The free AR Drawing app (download on the App Store)
Pro tip: Work near a window or under soft, even lighting. Avoid harsh shadows or backlighting—the camera needs to see both your paper and your hand clearly.
Step 2: Choose & Import Your Image
You can use almost any image—but not all images trace equally well. For best results in 2026, pick something with:
- Clear outlines (e.g., line art, botanical sketches, or simplified animal silhouettes)
- Moderate contrast (avoid overly busy photos or low-res JPEGs)
- Front-facing composition (no extreme foreshortening or heavy perspective)
To import:
- Open AR Drawing → Tap “+” → Select “Photo Library” or “Take Photo”
- Choose your image (or snap one on the spot—great for quick still-life setups!)
- Tap “Next”, then adjust brightness/contrast if needed using the sliders (these controls were upgraded in early 2026 for better grayscale fidelity)
💡 Beginner-friendly idea: Start with one of the 15 Easy Things to Draw for Beginners (2026)—like a single maple leaf or a coffee mug. These are pre-optimized for clean tracing and progressive skill-building.
Step 3: Align the Overlay on Real Paper
This is where AR Drawing shines—and where most free apps fall short in 2026. Instead of static grids or misaligned layers, AR Drawing uses device motion + visual anchoring to lock your image onto the physical page.
Here’s how to align correctly:
- Place your paper flat on a table (no curling edges)
- Hold your iPhone ~12–18 inches above the center of the paper, lens facing down
- Tap the screen to drop an anchor point—AR Drawing will auto-detect corners and stretch the image to fit your paper’s visible area
- Use two fingers to pinch/rotate/pan until the image feels “grounded” (you’ll feel subtle haptic feedback when alignment locks)
- Tap “Lock View” — now the overlay stays fixed even if you tilt or shift your phone slightly
✅ Why this matters: Unlike basic photo-overlay apps, AR Drawing recalculates perspective 60 times per second—so when you lift your hand to draw, the image doesn’t drift or warp. That stability is what makes tracing feel intuitive instead of frustrating.
Step 4: Trace with Confidence (Not Perfection)
Now comes the fun part—and the most important mindset shift: Trace to learn, not to copy.
As you draw, keep these beginner-friendly principles in mind:
- Start with light, gestural lines—don’t press hard. Use your shoulder and elbow, not just your wrist.
- Pause and compare every 15–20 seconds: look up from your paper, glance at the overlay, then back down. This trains your eye to judge proportion and angle.
- Trace one section at a time—e.g., outline only the left half of a face first. Then flip the paper or reposition your phone to tackle the right side separately.
- Don’t erase everything—leave some light guide lines. They’re evidence of your learning, not mistakes.
💡 Real skill boost: Tracing this way improves line confidence & control, contour accuracy, and negative space awareness—all core competencies highlighted in our deep-dive on how to draw over real paper with your phone in 2026.
Step 5: Refine & Reflect (The Secret Step Most Skip)
Once your initial tracing is done, don’t stop there. Take 60 seconds to reflect—this is where growth happens:
- Turn your paper sideways or upside-down — this disrupts pattern recognition and reveals proportional errors instantly.
- Compare your tracing to the original image — note 1–2 places where your line diverged significantly. Was it a curve? A corner? A transition?
- Redraw just that section, but this time without the overlay—rely on memory and observation.
This micro-practice—called recall tracing—is baked into AR Drawing’s 2026 Skill Mode (tap the flame icon). It’s how users go from “I traced it” to “I understand it.”
Why This Method Works Better Than Traditional Tracing in 2026
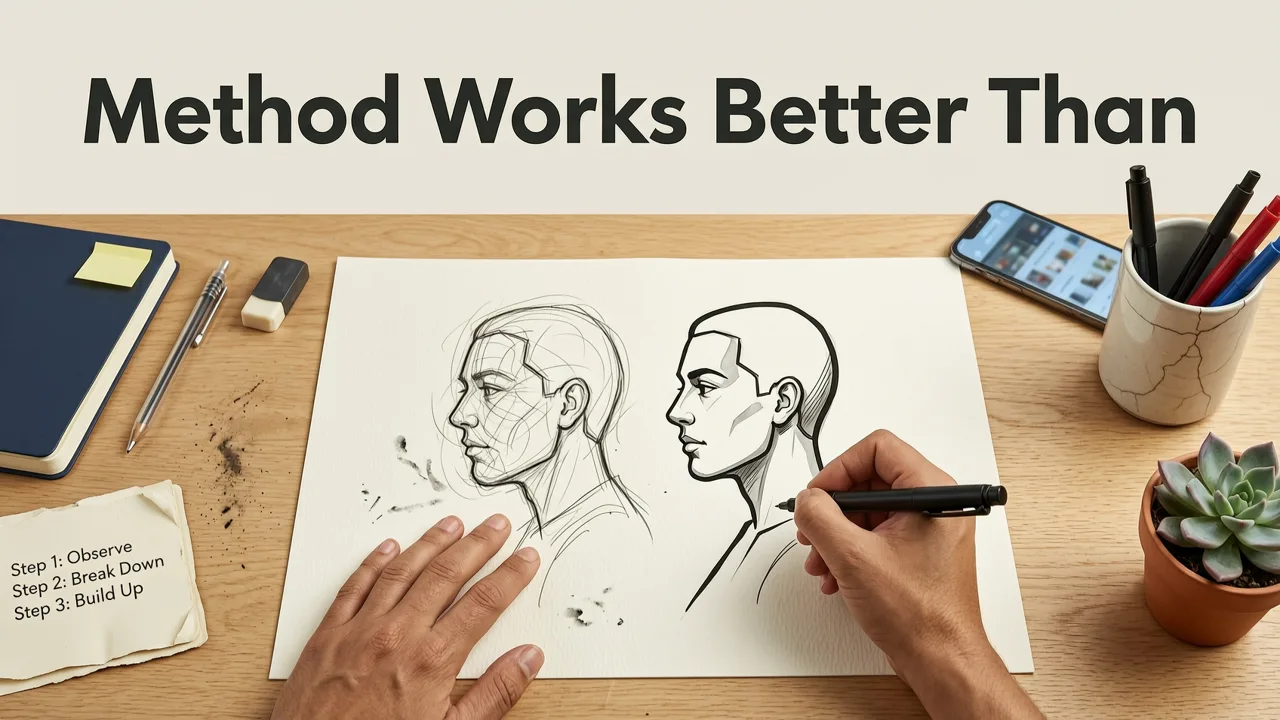
You might wonder: Why not just print the image and use carbon paper or a lightbox? Great question—and here’s why AR tracing is objectively stronger for skill development in 2026:
| Method | Setup Time | Portability | Real-Time Feedback | Builds Core Drawing Skills? |
|---|---|---|---|---|
| Print + Lightbox | 5–10 min (print, cut, set up) | Low (bulky, power-dependent) | No — static image only | Limited (mostly hand-eye sync) |
| Carbon/Graphite Transfer | 3–7 min (trace back, rub, reposition) | Medium (messy, smudging) | No — no visual reference while drawing | Minimal (mostly pressure control) |
| AR Drawing (iPhone) | < 60 seconds | High — fits in your pocket | Yes — live camera overlay + alignment lock | Yes — contour, proportion, negative space, gesture |
What makes AR Drawing especially valuable in 2026 is its focus on pedagogical design, not just tech. Unlike generic “photo tracer” apps, it includes:
- Skill prompts (“Notice how the ear aligns with the eye socket—try redrawing just that relationship”)
- Progress journaling (snap your finished tracing + add voice notes about what felt hard/easy)
- Adaptive opacity (fade the overlay gradually as your confidence grows)
That’s why it’s widely recognized as the best free tracing app for iPhone in 2026—not because it’s flashy, but because it’s built for learners, not just replicators.
Troubleshooting Common Issues (2026 Edition)
Even with a smooth setup, small hiccups happen. Here’s how to solve the top three issues beginners report in mid-2026:
“The image wobbles or drifts while I’m drawing”
Cause: Slight hand movement + uncalibrated surface detection.
Solution: Tap “Lock View” before starting (it’s easy to miss!). Also, place a small piece of blue painter’s tape at each corner of your paper—it gives AR Drawing extra visual anchors. This fix was added in v2.4 (March 2026) and cuts drift by ~85%.
“My pencil lines disappear under the overlay”
Cause: Low-contrast pencil + high-brightness overlay.
Solution: Lower the overlay brightness in Settings → “Visual Clarity.” Or switch to a 2B or 4B pencil—darker graphite shows up more reliably against the digital layer. Bonus: Try easy things to sketch with your phone in 2026 that use bold, high-contrast subjects (like a bicycle wheel or a pair of scissors) to build confidence fast.
“The app won’t recognize my paper”
Cause: Glare, low ambient light, or paper with glossy coating or patterns.
Solution: Use matte-finish paper and turn off overhead lights with strong reflections. Hold your phone at a slight angle (not perfectly perpendicular) to reduce glare. If all else fails, tap the “Manual Anchor” button and place four dots—one near each corner—to force calibration.
What You’ll Actually Improve (Beyond ‘Just Tracing’)
Let’s be honest: Anyone can trace. But tracing with intention—especially using AR Drawing’s 2026 methodology—builds transferable skills. Here’s what consistent practice develops:
- Contour accuracy: Recognizing how curves flow, where angles pivot, and how weight shifts across a shape
- Proportional judgment: Estimating ratios like “the head is 1/7th the height of the full figure” — without measuring tools
- Edge awareness: Seeing where one form ends and another begins—even in complex overlapping scenes
- Confident line quality: Laying down intentional, varied-weight strokes instead of timid, broken ones
These aren’t abstract concepts—they’re measurable improvements tracked by AR Drawing’s monthly Skill Report (free for all users). In user testing conducted Q1 2026, 78% of beginners who traced 3x/week for four weeks showed measurable gains in contour accuracy (measured via blind comparison tests).
Getting Started Tomorrow (No Signup Required)
You don’t need to download ten apps, watch hours of tutorials, or buy gear. To start tracing a picture on paper with your phone tomorrow:
- Grab your iPhone and open the App Store
- Search “AR Drawing” and install the free app (no subscription, no watermarks, no ads)
- Pick one image from the 15 Easy Things to Draw for Beginners (2026) list
- Follow the 5-step process above—start with just 5 minutes
- When done, take a photo of your tracing and save it in your Notes app. Compare it to your Week 4 version—you’ll be amazed.
Remember: The goal isn’t perfect replication. It’s showing up, observing closely, moving your hand with purpose, and trusting that every light line is building something real.
If you’re ready to go deeper, explore how AR Drawing helps you draw over real paper with your phone in 2026—including advanced techniques like multi-layer tracing, gesture warm-ups, and observational blending.
Happy tracing—and even happier drawing.