
Learn to Draw with AR — The Short Answer
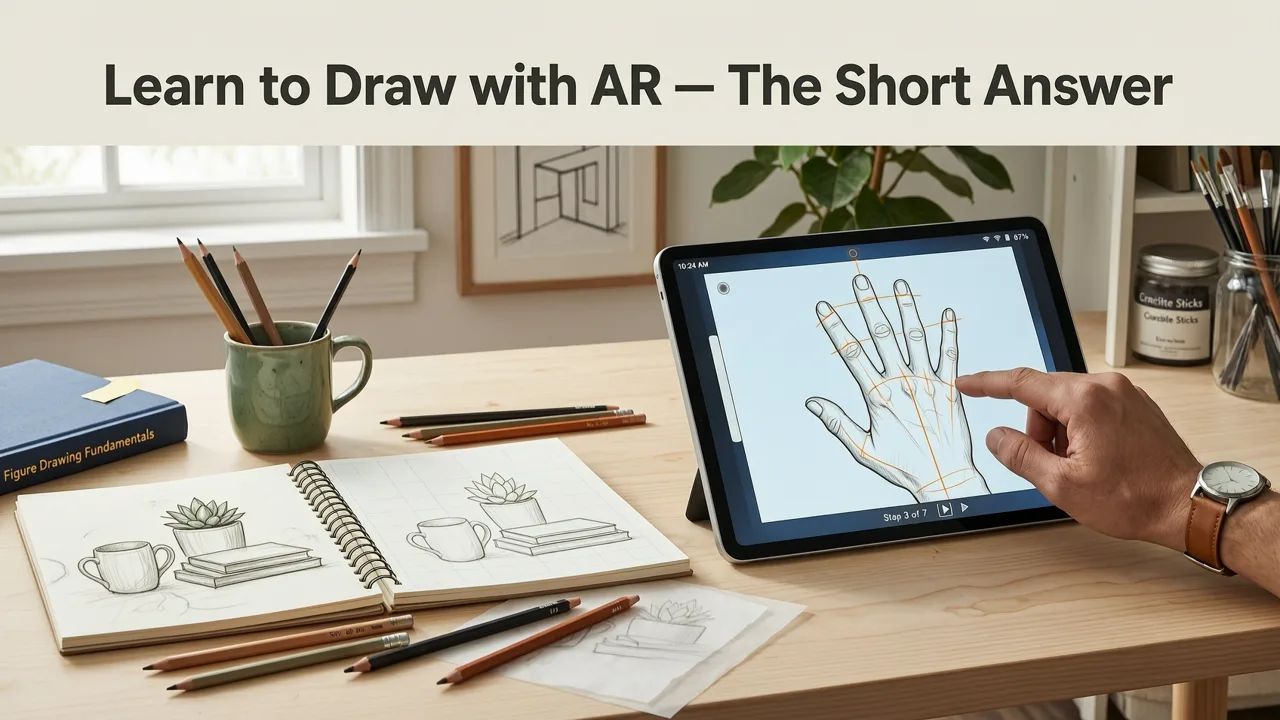
Wondering how to learn to draw with AR without buying a projector, light box, or expensive drawing tablet? You can start today using nothing more than your iPhone and a sheet of paper. Augmented reality drawing apps overlay a reference image directly onto your workspace through your phone's camera, letting you trace outlines in real time and build muscle memory as you go.
This guide walks you through exactly how the technology works, what supplies you need, a step-by-step workflow for your first session, and practical tips that help beginners move from shaky first lines to confident freehand sketches in a matter of weeks.
Why Learning to Draw with AR Works for Beginners in 2026
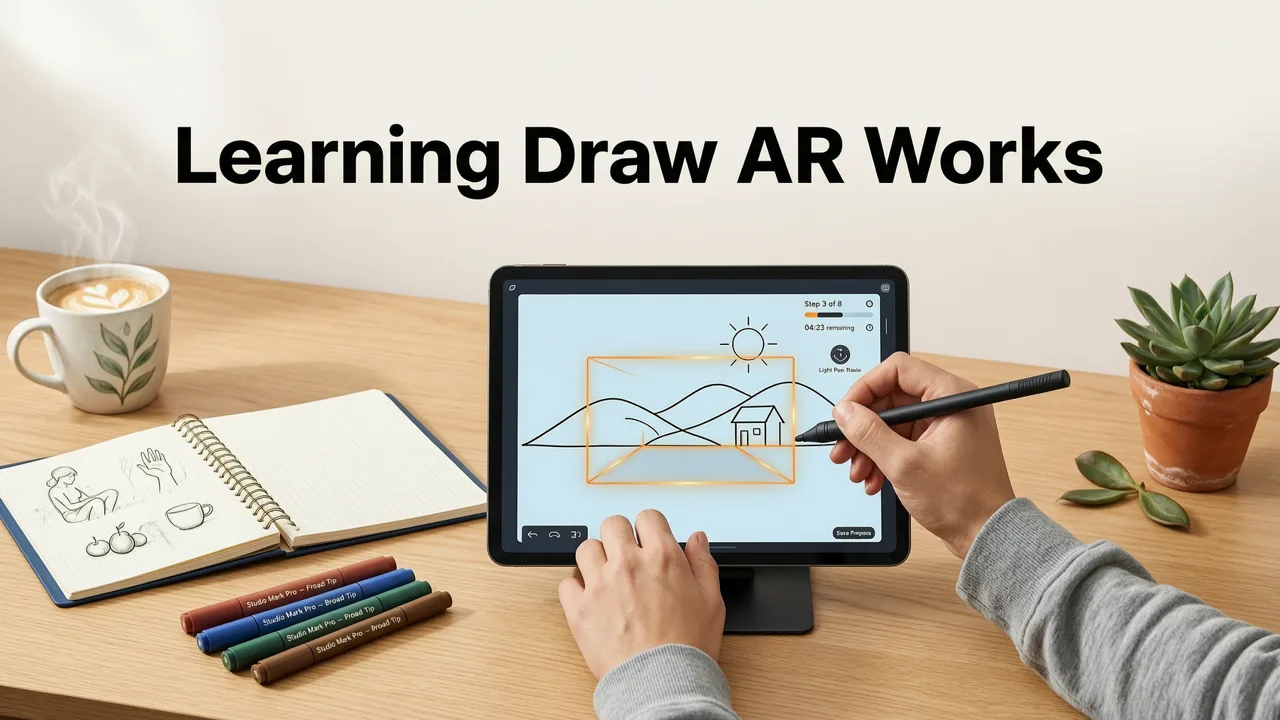
Drawing has always required two skills working together: seeing accurately and moving your hand accurately. Most beginners struggle because they are trying to develop both at once. AR removes the "seeing" bottleneck by placing the reference right in front of you, so you can focus entirely on hand control.
Drawing with Augmented Reality: AMAZING or AWFUL?? - SketchAR Review *Brutally Honest*
by Jazza
Here is why the method resonates so strongly with new artists in 2026:
- Lower frustration barrier. You get recognizable results on day one, which keeps motivation high.
- No expensive hardware. A light box costs around $30–$60, a drawing tablet $200+, and a projector even more. Your phone already has a camera.
- Portable practice. Sketch on the couch, at a café, or outside — no setup required.
- Gradual skill transfer. After tracing enough outlines, your hand begins to internalize proportions, curves, and spacing. You can then reduce the overlay opacity and eventually draw freehand.
Unlike old-school tracing methods that some artists consider "cheating," AR tracing is a training tool. Think of it like training wheels on a bicycle: you use them until you do not need them anymore.
What Is AR Drawing and How Does It Work?
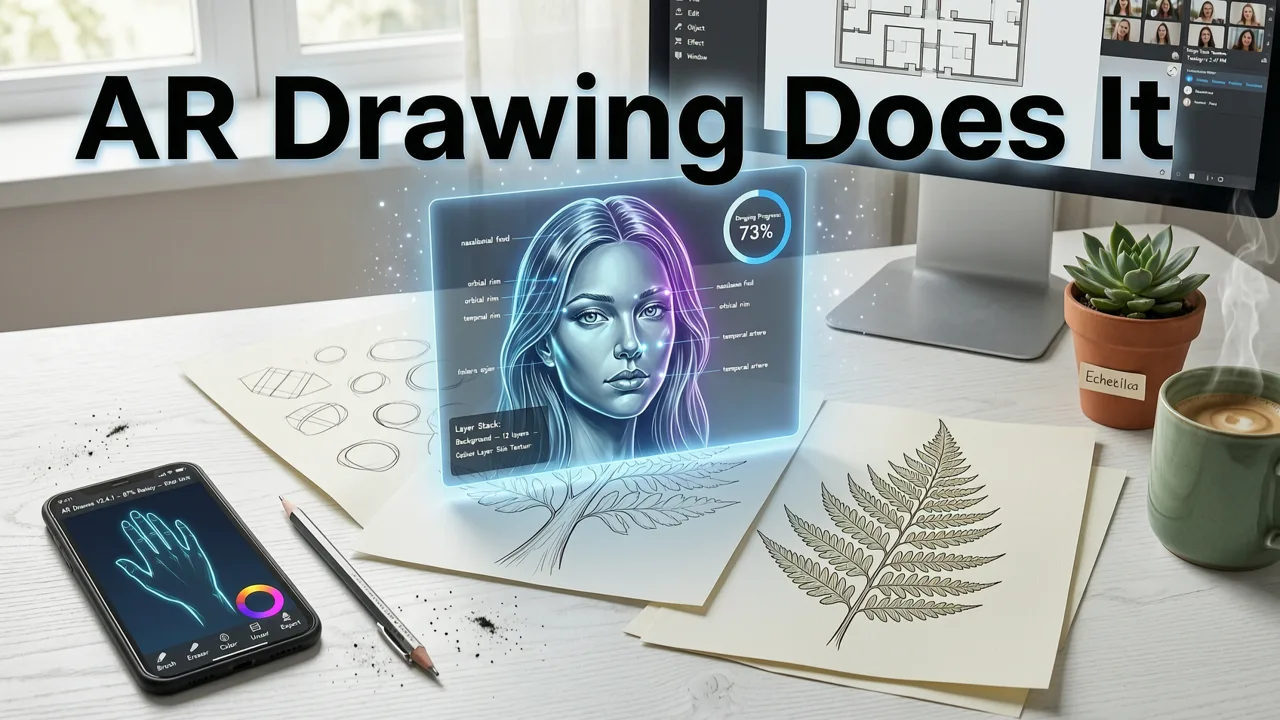
AR drawing apps use your phone's camera feed and motion sensors to lock a semi-transparent image onto a flat surface — your desk, sketchbook, or drawing pad. As you move the phone slightly, the overlay stays aligned with the paper beneath it, giving you a live guide to follow.
The Technology Behind the Overlay
Modern AR frameworks (Apple's ARKit and similar systems) detect planes in your environment and anchor digital content to them. When you open an app like AR Drawing, the software:
- Scans the surface using the camera and LiDAR or accelerometer data.
- Maps your uploaded or selected reference image onto that surface.
- Displays the image as a translucent layer you can see through on your screen.
- Lets you adjust scale, position, and opacity in real time.
The result is a digital tracing guide that behaves like a physical transparency sheet — except you can swap images instantly, resize them with a pinch, and dim them as your confidence grows.
How It Differs from Traditional Tracing
| Feature | Light Box / Projector | AR Drawing App |
|---|---|---|
| Setup time | 5–10 minutes | Under 30 seconds |
| Portability | Low (bulky equipment) | High (fits in your pocket) |
| Image swapping | Manual reprint or slide change | Instant, from your photo library |
| Cost | $30–$300+ | Free or low-cost app |
| Opacity control | Fixed (depends on bulb brightness) | Adjustable with a slider |
What You Need Before You Start
One of the biggest advantages of this method is how little gear it requires. Before your first AR tracing session, gather the following:
Essential Supplies
- An iPhone with AR support. Any iPhone 6s or later running a recent iOS version will work. Models with LiDAR (iPhone 12 Pro and newer) give slightly more stable overlays, but it is not required.
- The AR Drawing app. Download it from the App Store. The free version gives you full access to the core tracing experience.
- Smooth white paper. Standard printer paper or a sketchbook works. Thicker paper (around 100 gsm) prevents bleed-through if you plan to ink over your pencil lines.
- A pencil and eraser. A standard HB or 2B pencil is ideal for beginners. A kneaded eraser keeps your page clean.
- A stable surface. A flat desk or table gives the best results. You can also prop the phone on a small stand if you prefer both hands free.
Optional Upgrades
- Phone stand or mini tripod. Keeps the device steady during longer sessions.
- Fine-liner pens. For inking your traced outlines once you are happy with the pencil sketch.
- Colored pencils or markers. To add color after the line work is complete.
Step-by-Step: Your First AR Drawing Session
Ready to try it? Follow these steps and you will have a finished sketch in under fifteen minutes.
Step 1 — Choose a Reference Image
Pick something simple for your first attempt: a piece of fruit, a cartoon character, or a basic animal silhouette. You can select an image from your camera roll or browse built-in templates inside the app. If you want a fun first project, check out the how to draw cute things step by step guide for beginner-friendly subjects.
Step 2 — Set Up Your Workspace
Place your paper on a flat, well-lit surface. Good lighting helps the camera track the surface accurately and reduces eye strain. Sit so that your drawing hand can move freely without blocking the phone screen.
Step 3 — Open the App and Align the Overlay
Launch the app and point your camera at the paper. The overlay will appear on screen. Pinch to resize, drag to reposition, and use the opacity slider to set the image at roughly 50–70 percent transparency. This gives you a clear view of both the guide lines and your paper.
Step 4 — Trace the Major Shapes First
Do not jump into details. Start with the largest outlines: the head shape, body silhouette, or main contours of your subject. Use light pencil pressure so you can adjust easily. For a deeper walkthrough on the camera technique itself, read the how to trace a drawing with your phone camera article.
Step 5 — Add Secondary Details
Once the major shapes feel right, layer in facial features, texture lines, clothing folds, or whatever secondary elements your subject needs. Keep comparing your lines to the overlay to stay accurate.
Step 6 — Remove the Overlay and Refine
Hide the AR overlay and look at your sketch on its own. This is where you clean up stray construction lines, darken confident strokes, and erase mistakes. You can also try freehand corrections to start building independence from the guide.
Step 7 — Ink and Shade (Optional)
If you are happy with the pencil version, go over your final lines with a fine-liner pen. Once the ink dries, erase any remaining pencil marks and add shading or color.
5 Tips to Progress from Tracing to Freehand Drawing
Tracing is a starting point, not a destination. Here is how to use AR as a stepping stone toward drawing from imagination.
- Lower the opacity over time. Each week, reduce the overlay transparency by 10 percent. This forces your eye to recall shapes rather than simply follow them.
- Trace, then redraw from memory. After completing a traced sketch, put the phone away and try to recreate the same subject freehand. Compare the two versions to spot weak areas.
- Study the "why" behind the lines. Ask yourself why a curve starts where it does. Understanding structure turns passive tracing into active learning.
- Mix traced and freehand sessions. Alternate between AR-assisted sketches and fully freehand attempts. The contrast accelerates improvement.
- Keep a dated sketchbook. Reviewing older pages months later is the single best motivation booster you can give yourself.
Common Beginner Mistakes (and How to Fix Them)
Mistake 1: Pressing Too Hard on the Pencil
Heavy pencil pressure makes erasing difficult and creates grooves in the paper. Practice holding the pencil farther back from the tip for lighter, more forgiving strokes.
Mistake 2: Skipping the Large Shapes
Beginners often start with eyes or small details and then realize the proportions are wrong. Always block in the biggest shapes first.
Mistake 3: Keeping the Overlay at 100 Percent Opacity
If the guide image is fully opaque, you are copying pixels instead of learning to see. Drop the opacity to 50–70 percent so you can compare your lines against the reference in real time.
Mistake 4: Practicing Irregularly
Twenty minutes three times a week beats a single three-hour session on the weekend. Consistency builds the neural pathways that turn conscious effort into automatic skill.
Who Benefits Most from AR Drawing?
While any aspiring artist can benefit, certain groups see especially fast results:
- Absolute beginners who feel intimidated by a blank page.
- Parents looking for a creative activity to share with kids using a device they already own.
- Hobbyists returning to art after a long break and wanting a low-pressure way to rebuild confidence.
- Students studying anatomy or perspective who need to internalize complex proportions.
If you fall into any of these categories, a free AR sketching tool removes every barrier between you and your first satisfying sketch.
The Bottom Line
Learning to draw with AR is not a shortcut that skips the hard work — it is a smarter way to do the hard work. By handling the "where does this line go?" question for you, the technology lets you focus on the part that actually builds skill: moving your hand with control and intention. Within a few weeks of regular practice, you will notice your freehand lines getting steadier, your proportions getting more accurate, and your confidence growing with every page.
Grab your phone, download a free AR drawing app, and make your first mark today. Your future self — the one sketching comfortably from imagination — will thank you for starting now.